
This bag was made by recycling parts of the Ovi bag. The liner I had made for that bag had seen some wear and tear, so my initial plan was to just replace it. But I decided to pull the entire bag apart and give it a new life.
The new one needed to accommodate the basic EDC (phone, wallet, keys, sunnies, mask, maybe a kindle) and I had limited leather to play with. I wanted to utilise as much of the leather as possible, yet keep a similar shape to remind me of its original form. I mocked up a couple of ideas on paper, but the one I settled on was a simple double-gusset turned construction.
Here is a diagram of the original bag’s parts, and how they were repurposed:

Rough diagram of bag before (black outline) and new bag pieces (magenta outline)
The new things I tried in this bag were:
Pre-line all the leather
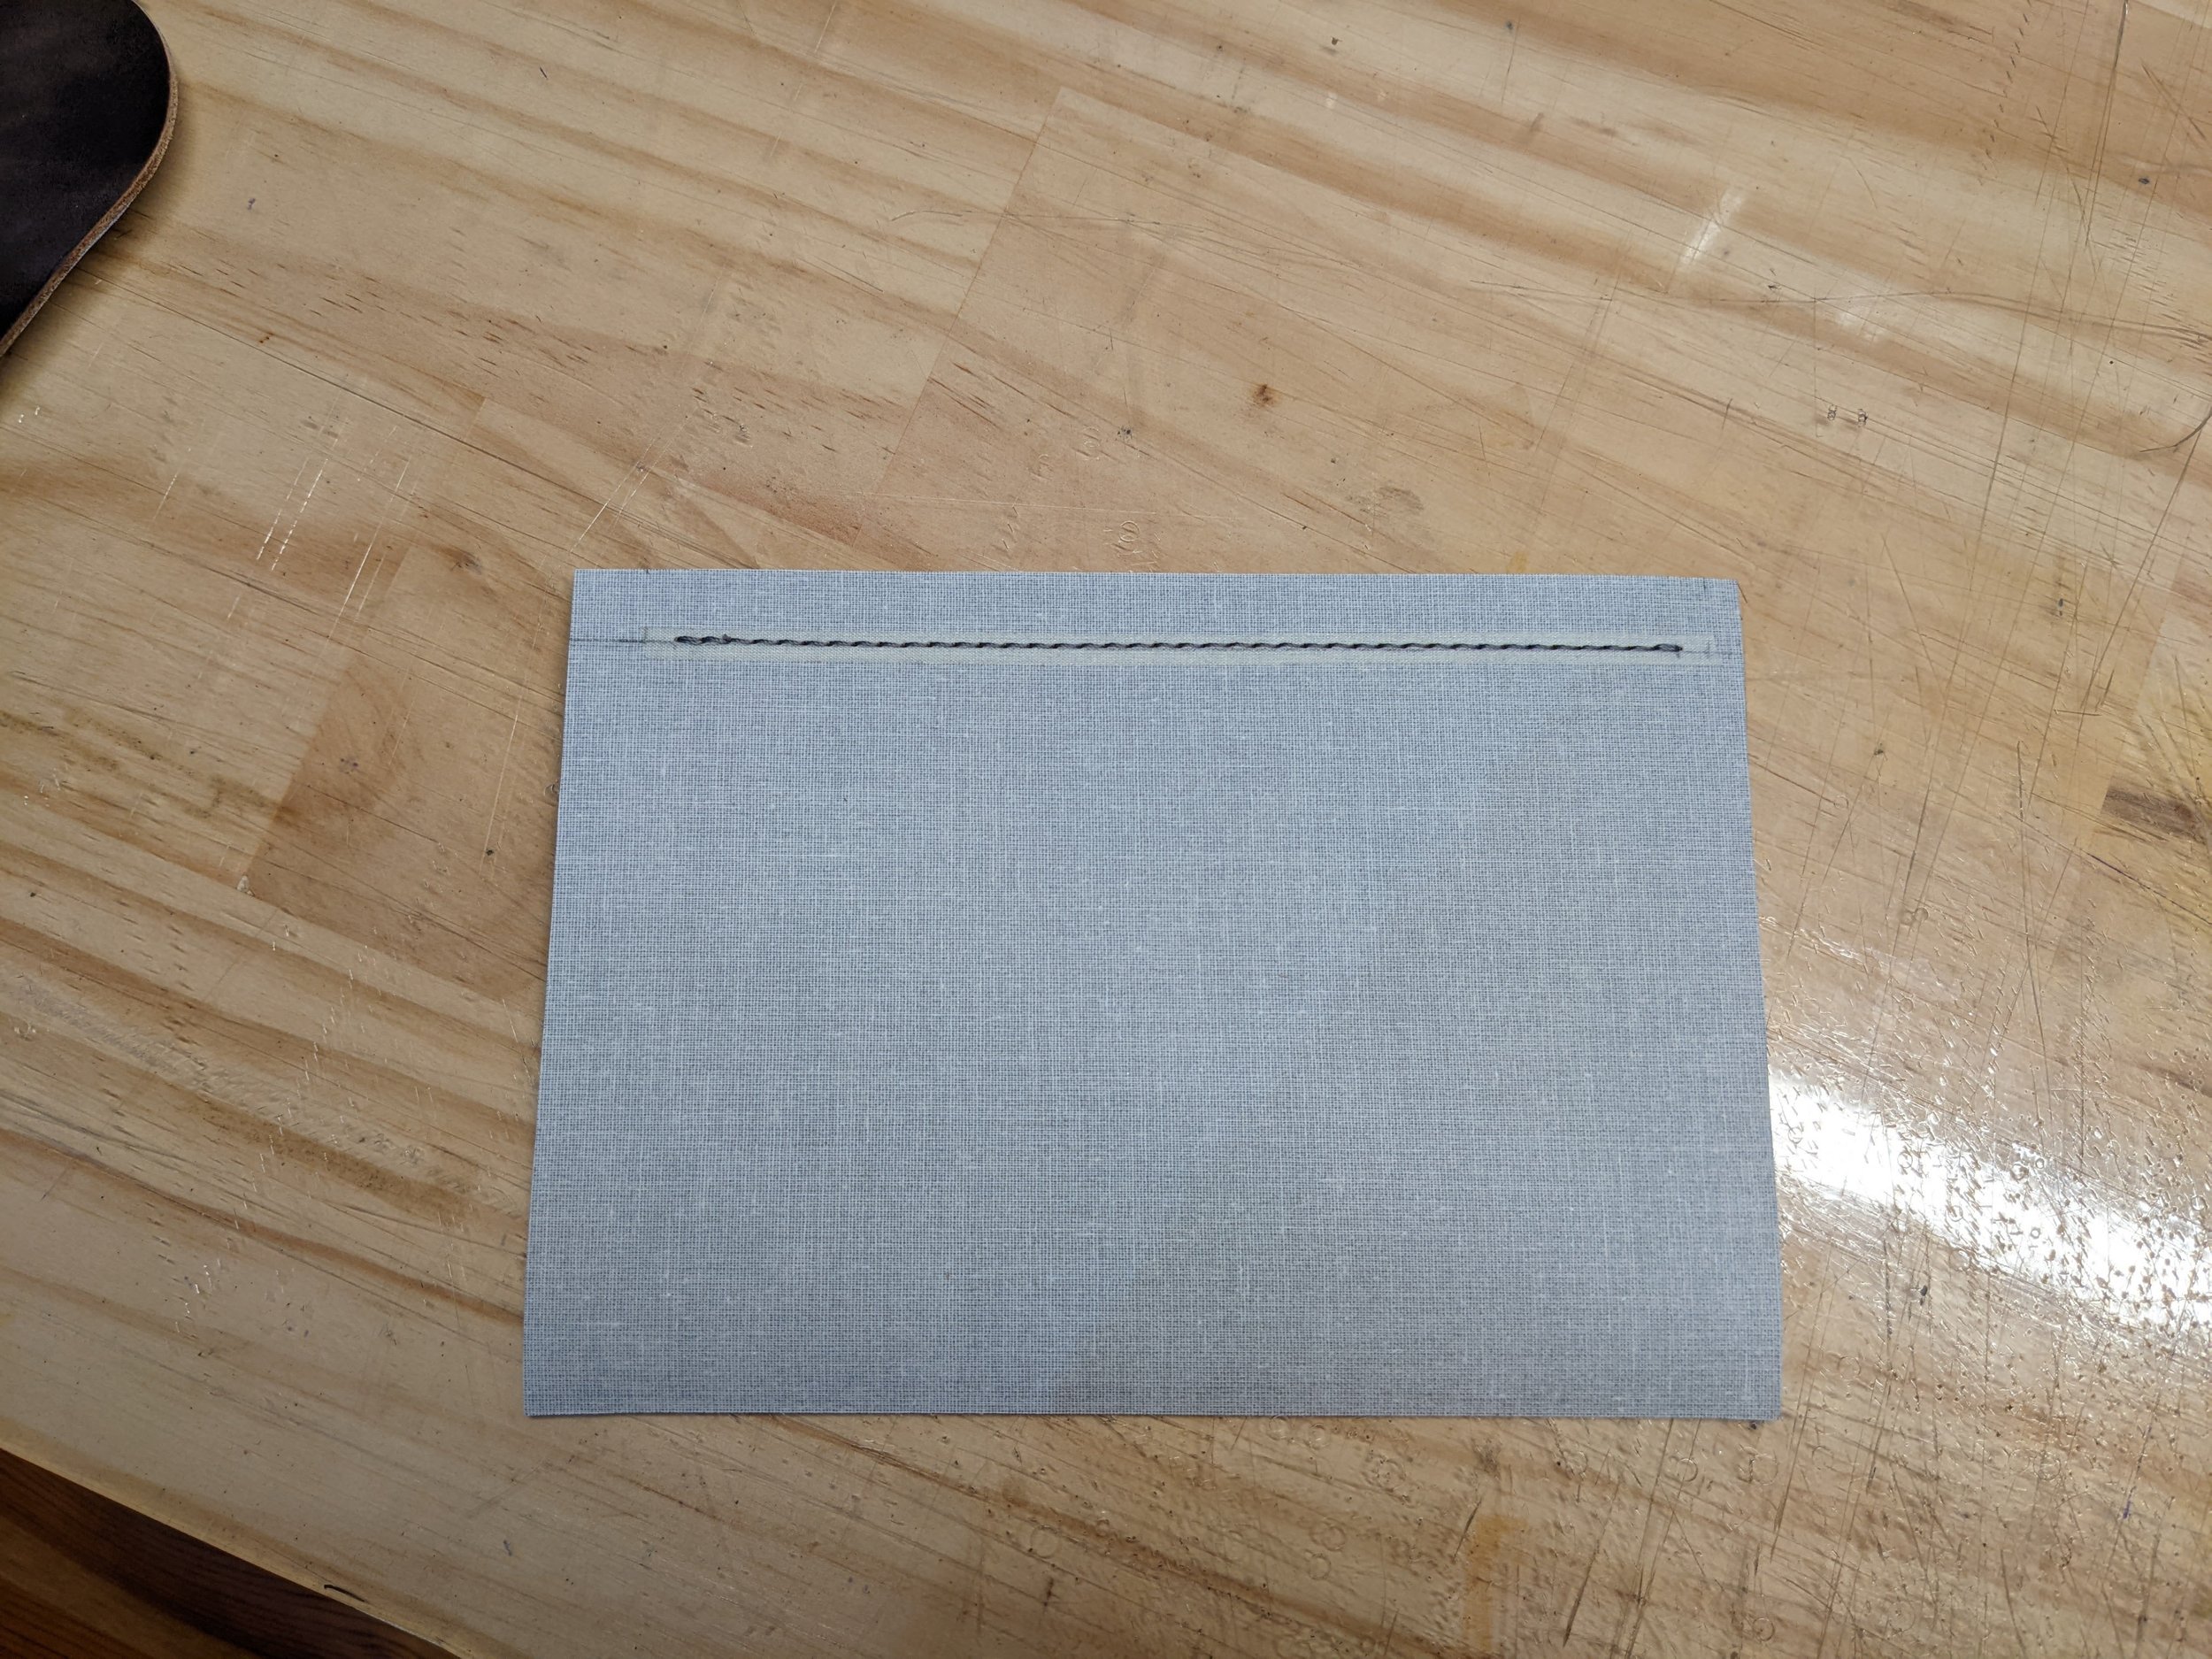
Use bookbinding cloth as a liner (I have no idea how this will wear, so I guess I’ll find out)
French binding to add a nice detail to the internal pockets
Prep
After cutting all the leather to size, I skived the following parts:
Angle-skive 1cm depth
Long sides of the gusset strips
Sides and base of the pockets
Zipper strips
Step-skive 6mm depth
One short side of each gusset strip
Lining the Gusset
First I needed to know the final gusset length. So on my template, I punched holes and counted them. After getting a rough length, I punched the actual body front and back then confirmed the hole-count
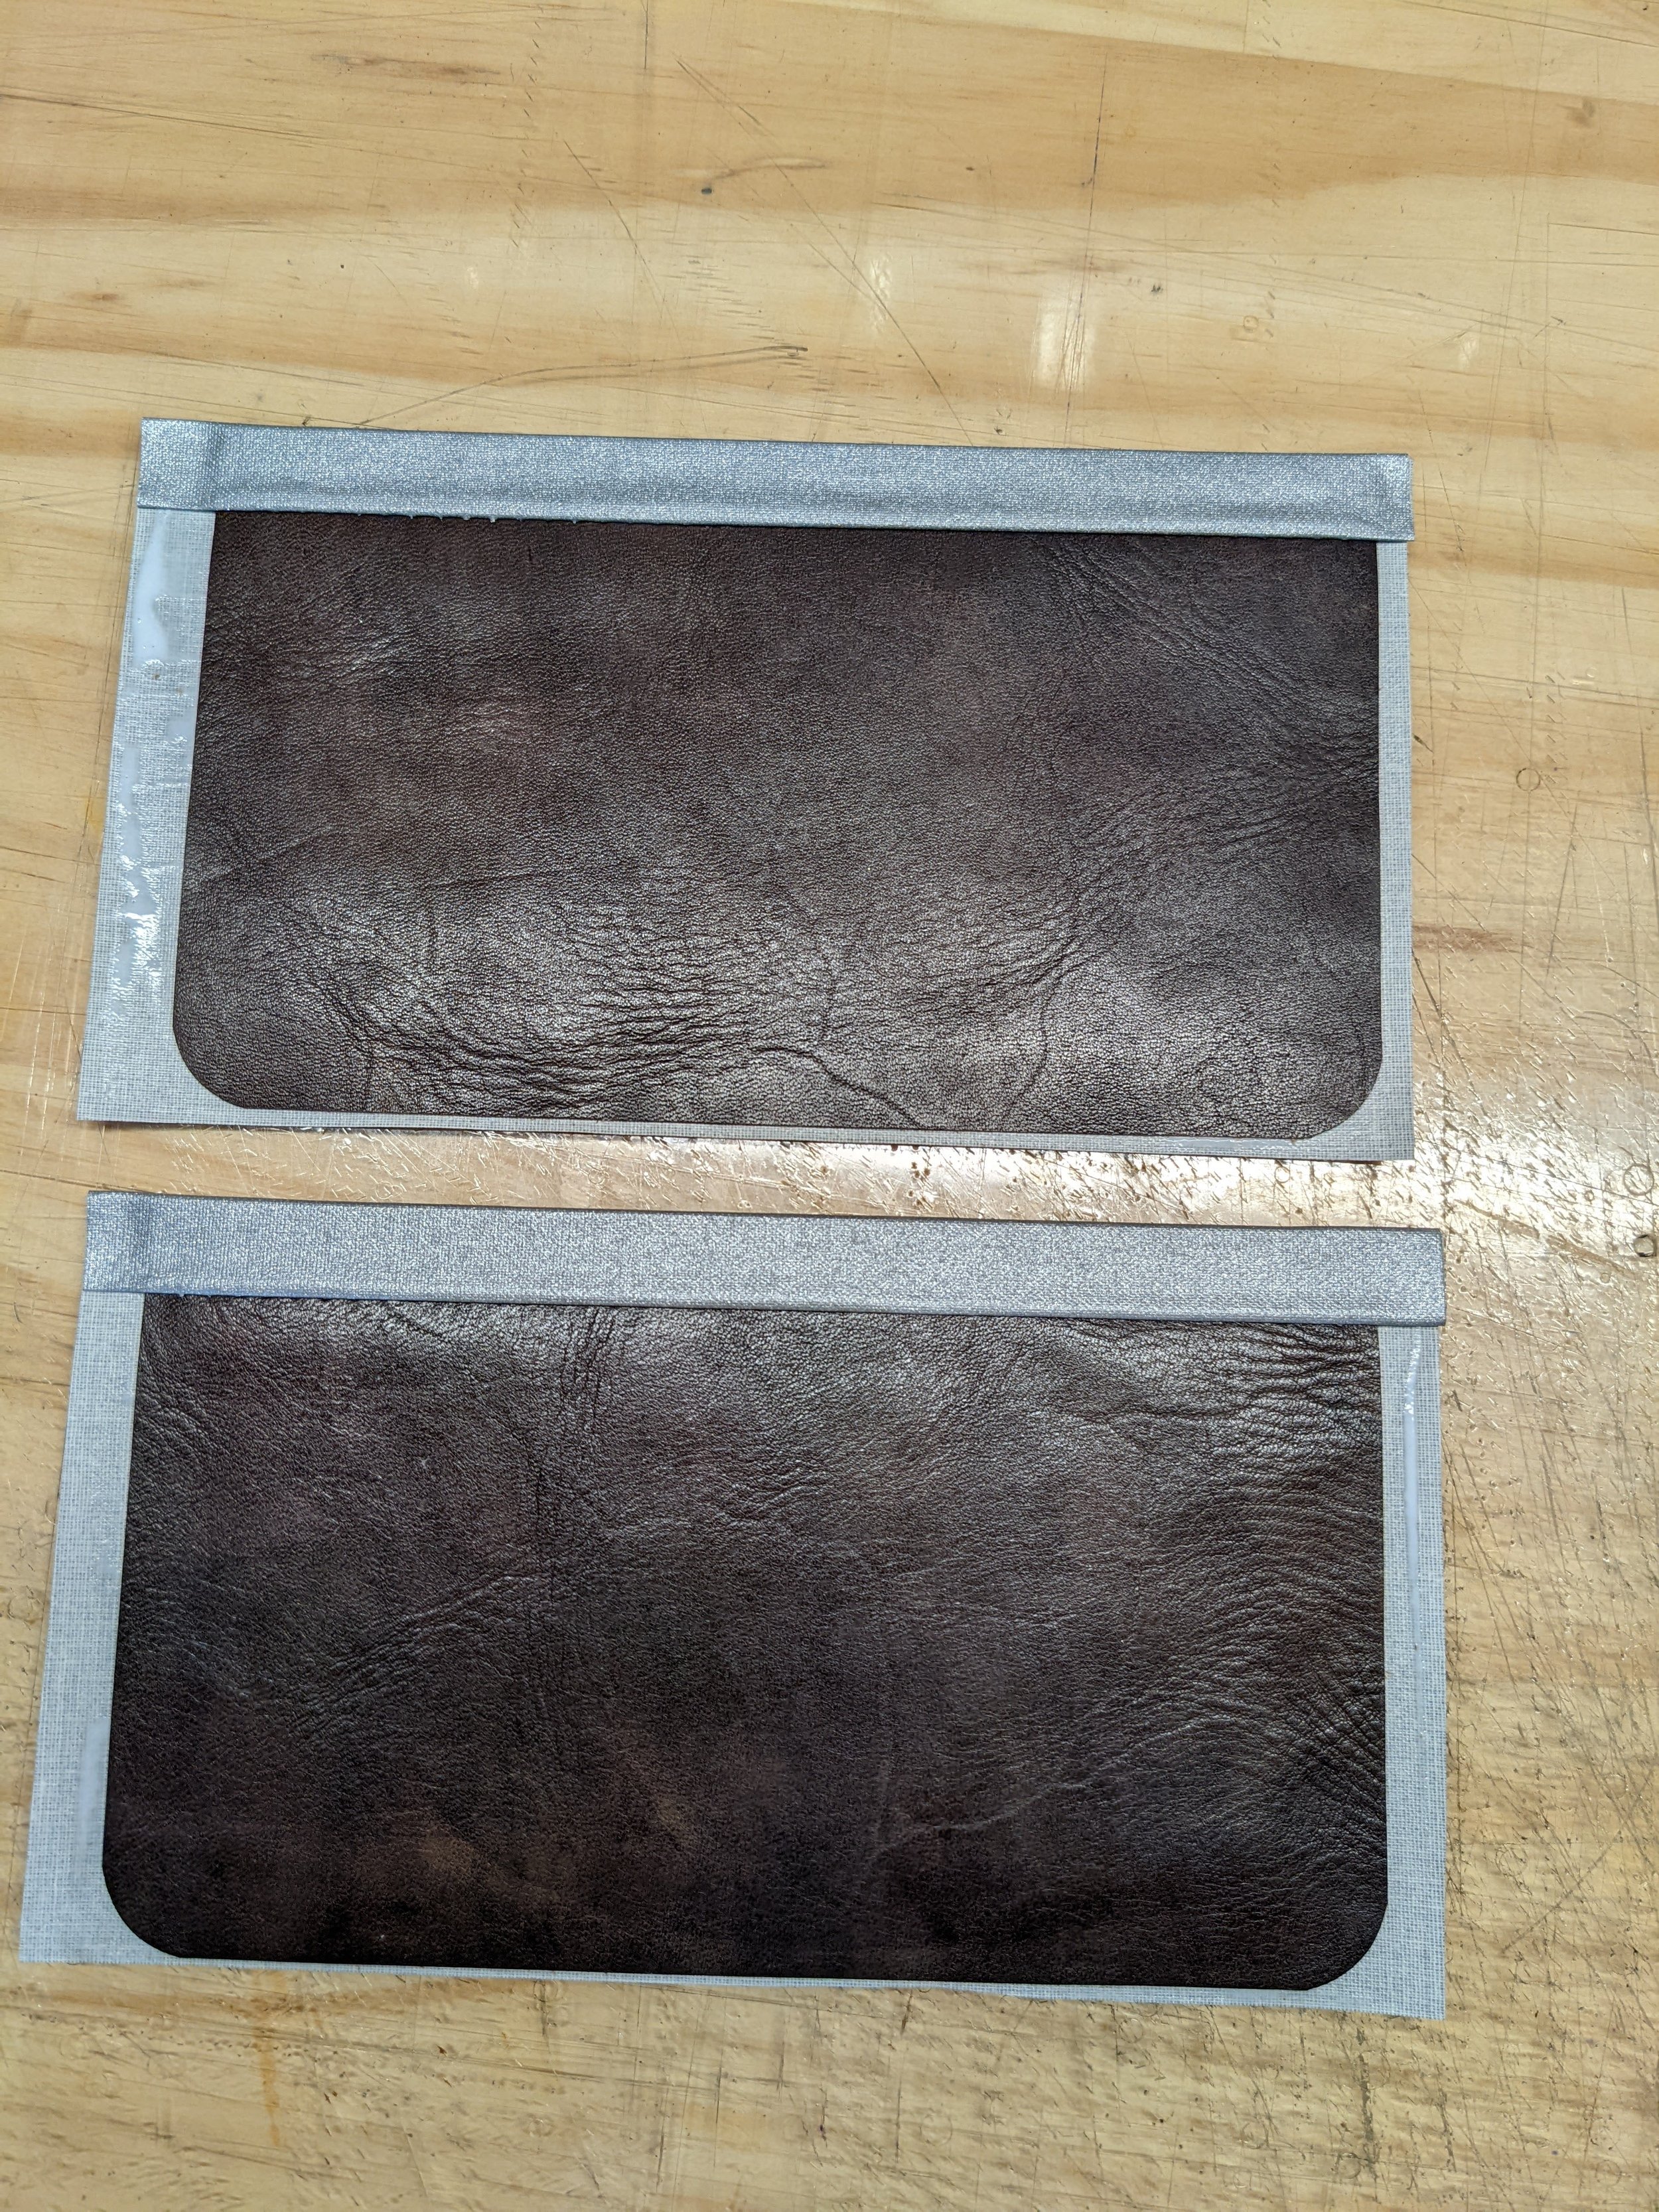
The gusset panels were stitched together at the step skive in a turned construction, and the leather stuck down flat. I transferred gusset holes to two gusset strips. I reinforced where the enchapes would be stitched with reinforcement tape. Next I lined each strip with bookbinding cloth. I stitched both strips in the middle in a turned construction, and edge-painted it.
The final result was a little thick and stiff for my liking. In the future I would skive more aggressively. The bookbinding cloth also adds a lot of stiffness when laminated. I think using it with vegtan leather was probably not the best combination.
I edge finished the tops of the gusset, then stitched on the enchapes on the gusset that would hold the bag strap. Enchapes were reinforced with velodon.

Gusset strips lined and stitched in the middle. Awaiting edge paint and enchape attachment

Gusset strips with a split enchape attached
Lining the Body Panels
In order to line the body panels, I first needed to do the following things:
Put the closure on the body front
Attach a pocket to the lining of both front and back panels
Attach the bag flap so that the stitching would be hidden by the lining
I decided to use a two-prong magnet closure because I had one handy. I used the magnet backing to sketch it on my template, then transferred it to the bag body front.

Bag body template with stitch holes counted, and magnet position marked (I ended up using the female part in the body and male part on the bag flap)
For the pocket construction I attempted a french seam. Below are the steps:
Put pocket and liner right sides facing together. Glue 8mm of the tops. Stitch 10mm from the top
Flip the longer end of the liner along the stitch line away from the pocket leather and make a crease with a bone folder to set its position and shape
Glue down liner in this position just for the top part
Fold over the liner and fully glue it to the back of the leather
Trim pocket to final size. Pop a logo if you like
(Optional) Stitch down the pocket and liner. Then edge finish
1. Put pocket and liner right sides facing together. Glue 8mm of the tops. Stitch 10mm from the top
1. Still step 1, view from the other side

2. Flip the longer end of the liner along the stitch line away from the pocket leather and make a crease with a bone folder to set its position and shape

3. Glue down liner in this position just for the top part
4. Fold over the liner and fully glue it to the back of the leather
5. Trim pocket to final size. Pop a logo if you like
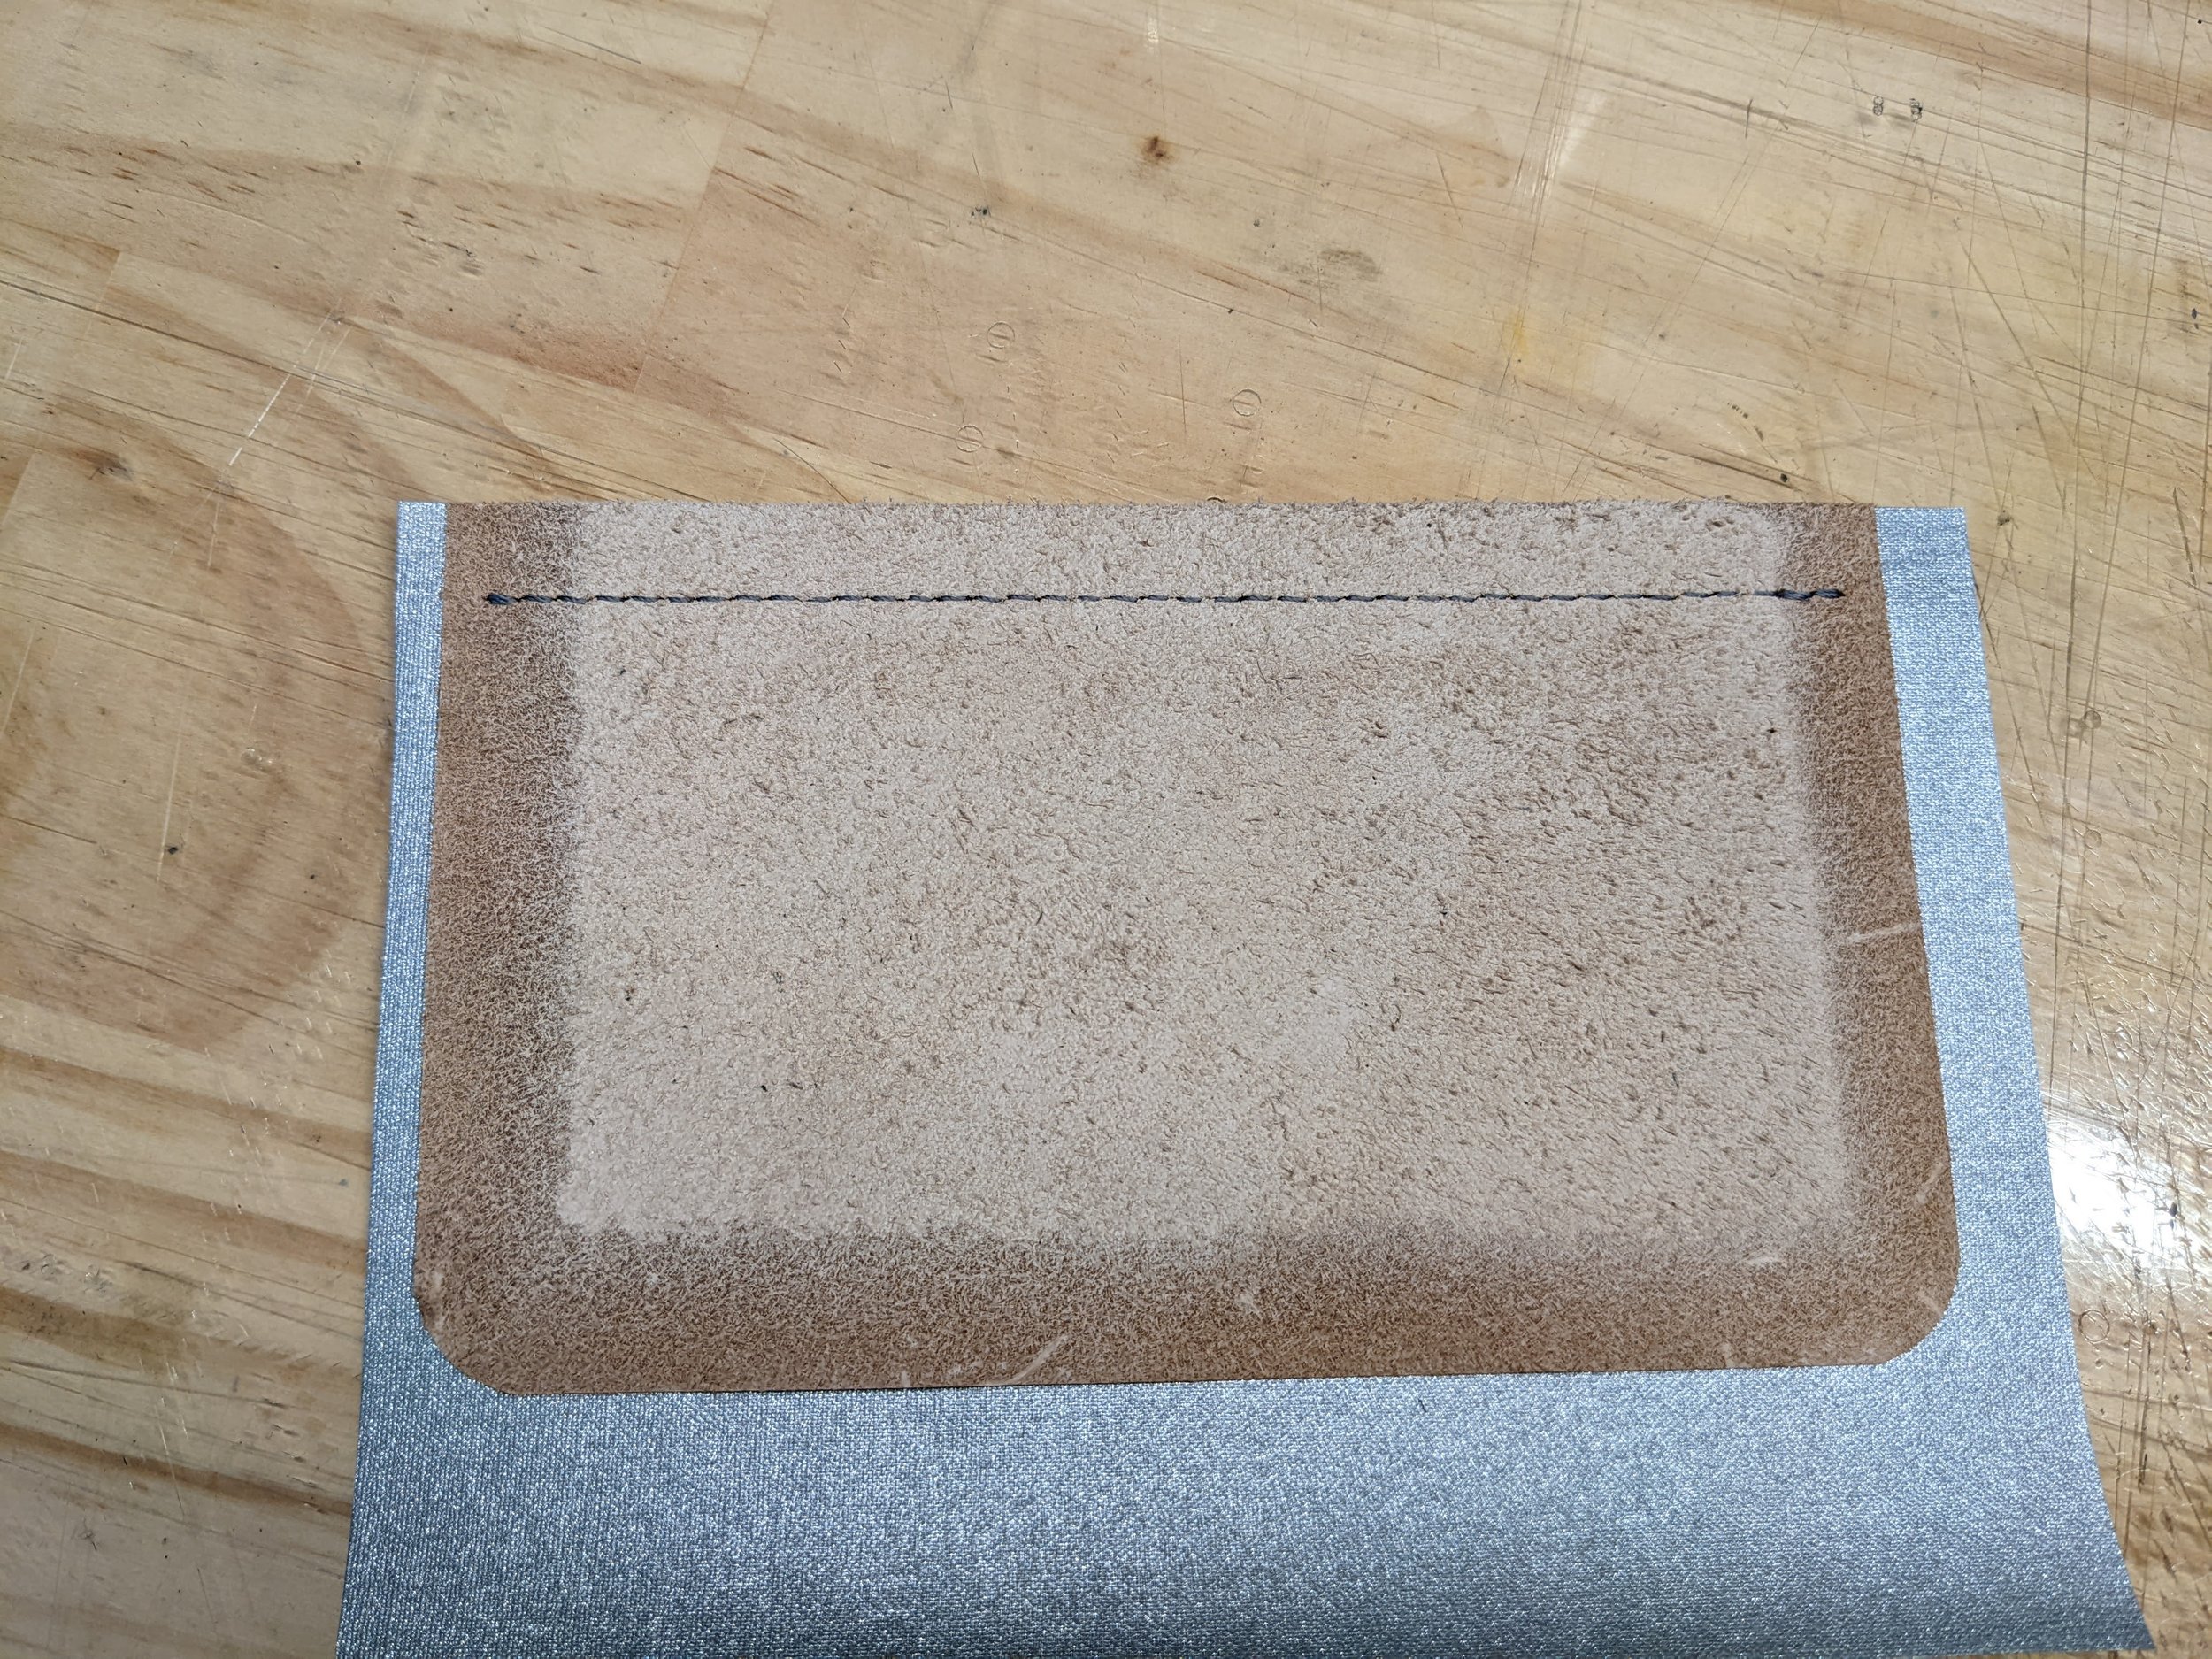
Once the pockets were ready, I centred them on the liner panels and glued them down at the edges. I punched holes all around, but because my liner is “cloth” of some sort, I reinforced the back of the punch holes with reinforcement tape before stitching the pockets down.
Lining the flap
With the magnet attached to the body front panel, I used that to centre the location of the magnet on the flap.
I cut an oversize lining and marked and cut the magnet placement. I put the magnet in the liner, then placed the body front panel on the flap to close the magnet. In its final resting position I used the outline of the body front panel to mark a corresponding outline on the liner. Given the nature of my liner material, I reinforced the holes with tape, and also put leather directly over the cloth’s back side so that the prongs would not bend over the cloth, but over the leather. I covered the whole ensemble with another patch of leather.

Flap prongs protected from cloth liner by leather patch
I marked the approximate height of the front panel on the flap, then glued just the edges of the liner and the flap leather to that point. What I needed to finish constructing the flap was to glue the rear end of it on a bend where it would go over the gusset. I can make a rough calculation about the gusset depth, but I wanted to drape the flap over the gusset to see what bend angle would work well. I also needed to know exactly where I was attaching the flap to the back panel. To do that I need the gusset to be partially attached.
Assembly
I attached the front panel liner to the front panel. (Optional: If using a zipper closer, attach the front part of it to the front panel, and edge finish now. I attached a zipper strip only to realise that when the zip was open, the strip blocked access to the internal pocket, so I removed the zipper strips from the bag entirely.)

Zipper strip attached to the front panel. I ended up taking it off
Then I attached the gusset to the front panel. Next I temporarily pinned the back panel to the gusset to get an idea of the depth.
I closed the flap against the front panel, then draped the flap over the gusset, marking the centre line and angle I would need to glue on a bend. I also marked where on the back panel the flap would need to be stitched.
I could finally finish the flap. I glued the liner and the flap leather at the edges, on the bend where it needed it, trimmed and edge finished it.
I then stitched the flap to the back panel. Now I could finally put the back panel liner on. (Optional: If using a zipper closer, attach the back part of it to the back panel, and edge finish now. Finish all the zipper work and decide how to deal with the tail at this point.)

Liner stitched to the top of the back panel. Flap stitched to the back panel
With that in place, all that was left to do was attach the gusset to the back panel, and sand and edge finish all the exposed edges.

Bag complete, awaiting edge painting
Bag getting edge painted

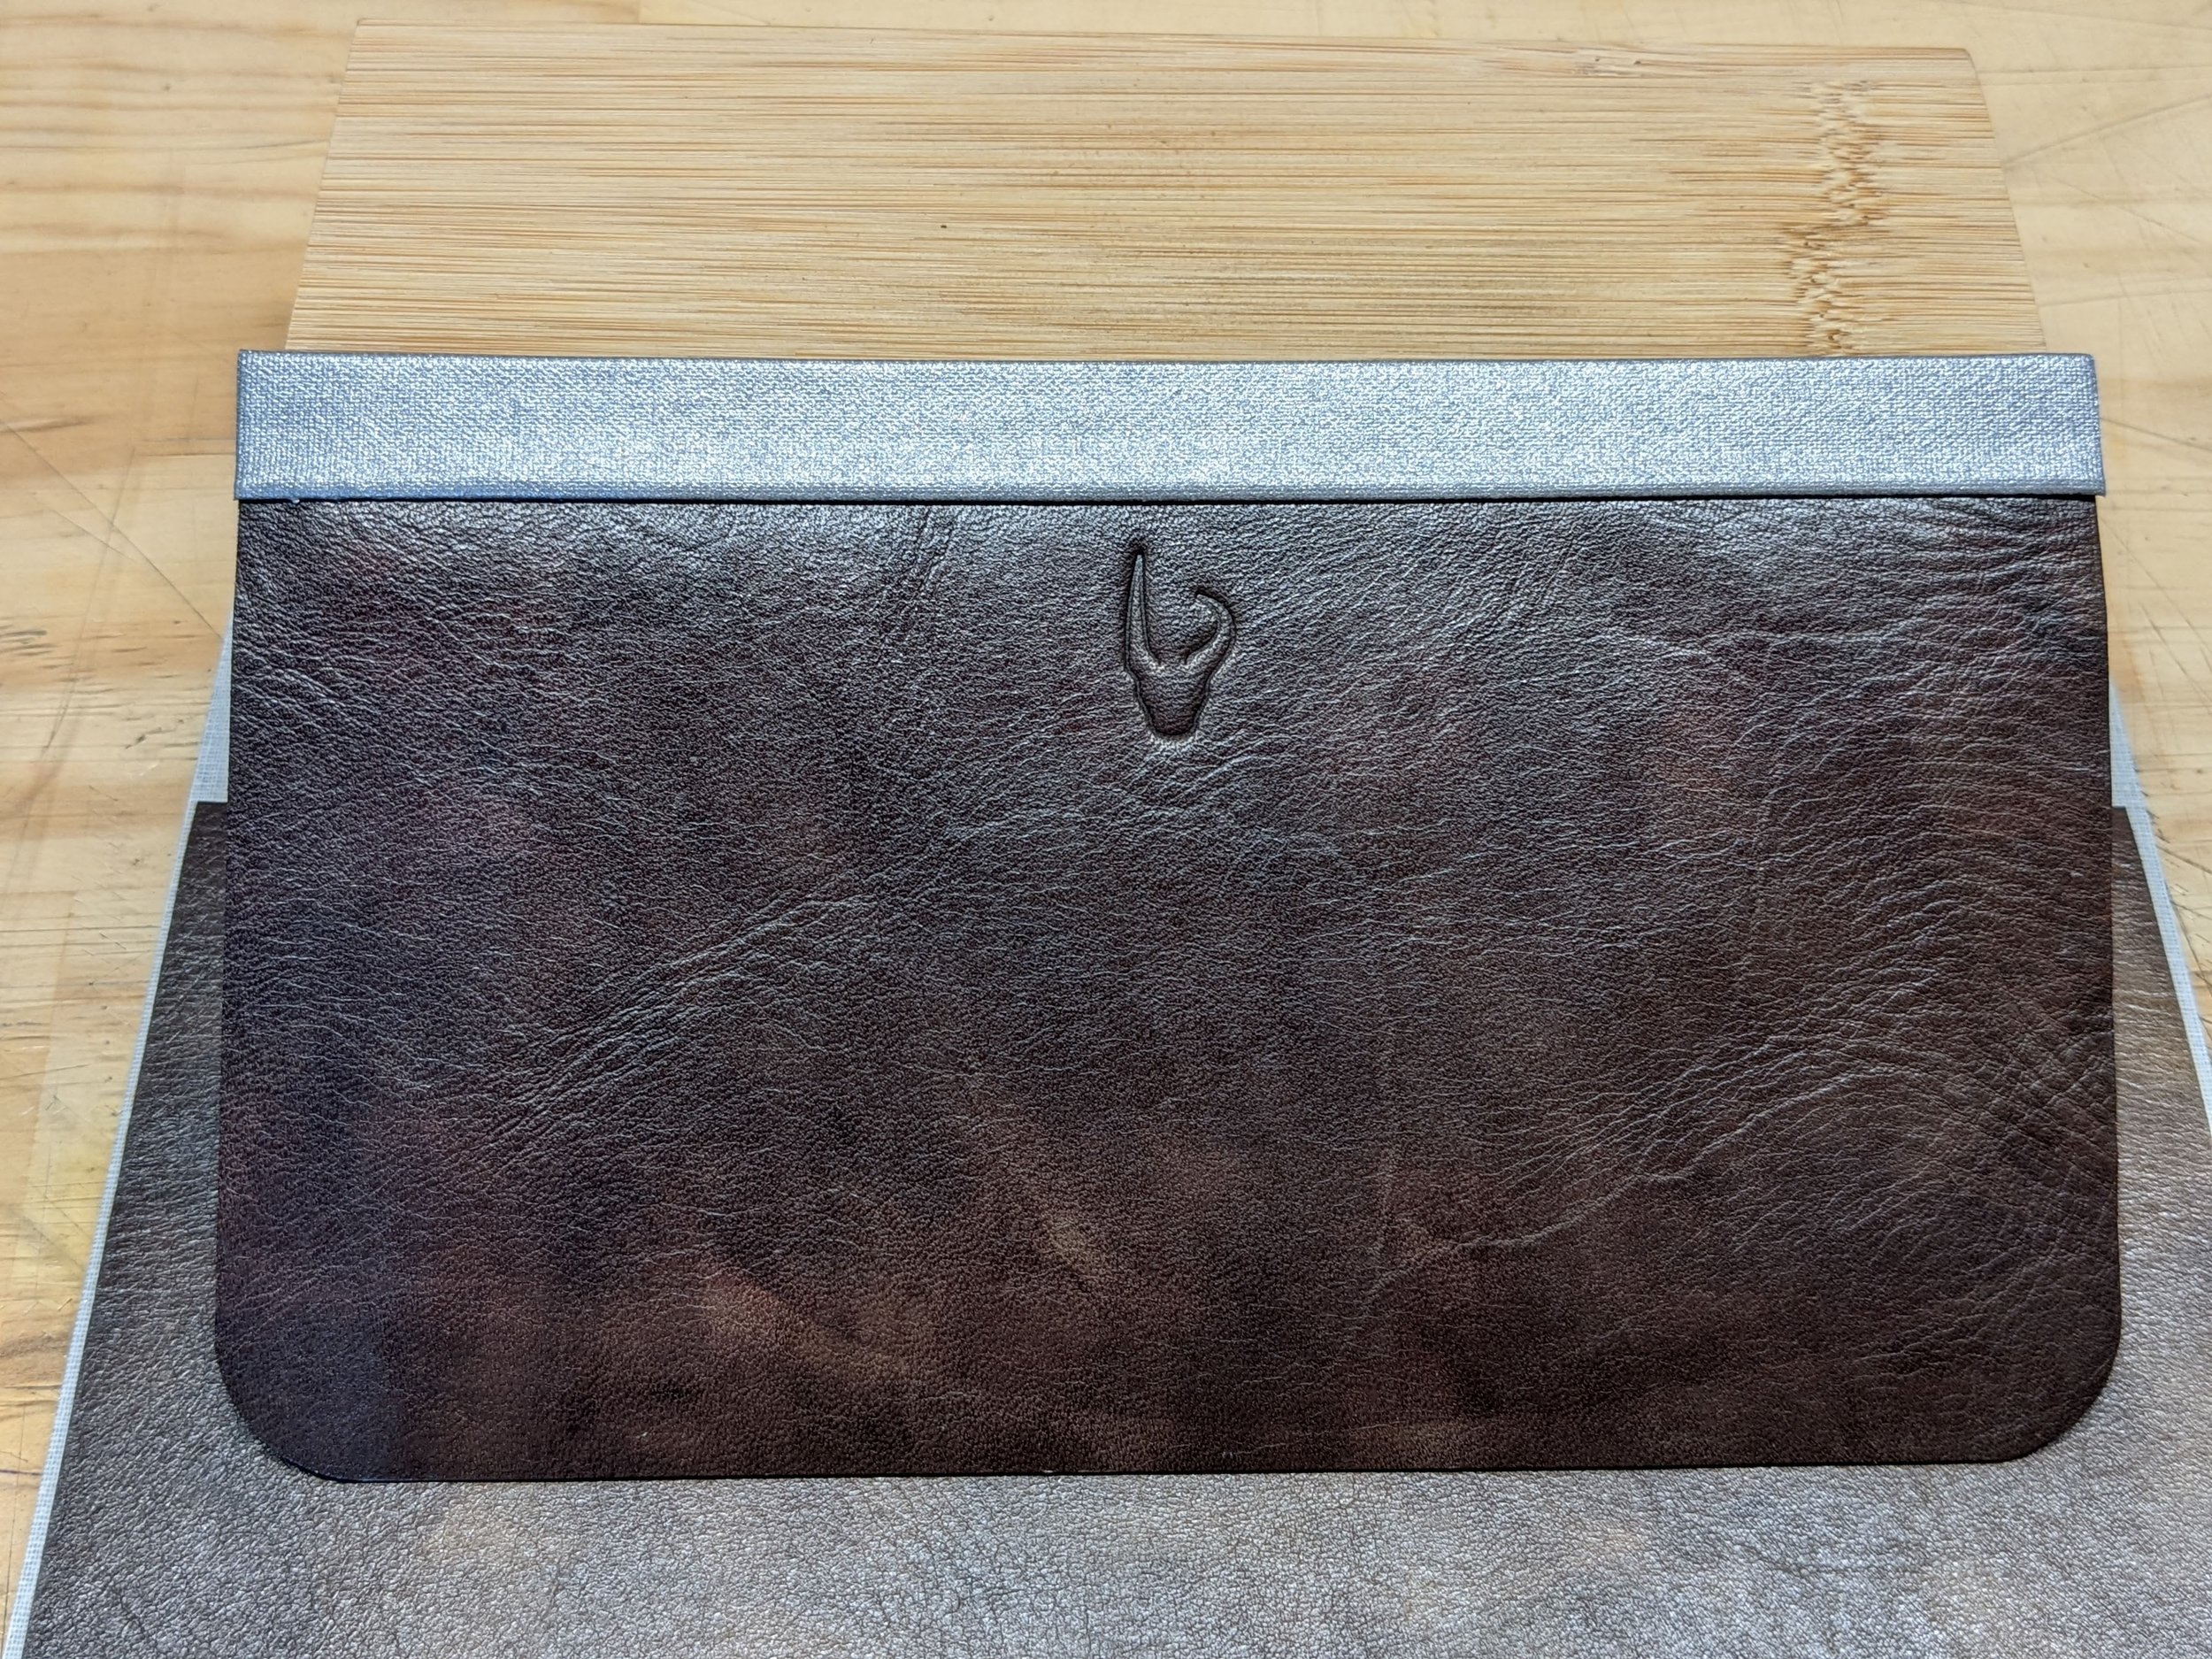
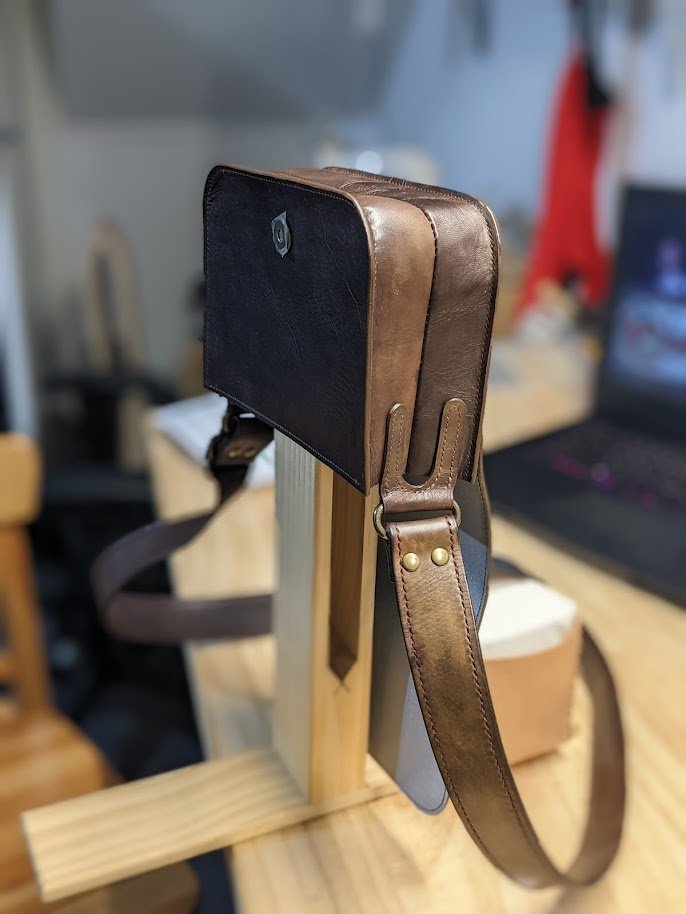
Bag finished