Recently I did a 4-day book binding course over a few weeks at OrtBindery. The guy who runs it, Phil, is a great teacher, so if you’re based in Melbourne (AU) and are interested in book binding, his beginners course is quite fun. You’ll finish with 3-4 books depending on the pace of the class. The materials we used weren’t leather, but could easily have been replaced with it.
Book binding styles from top to bottom: Buttonhole, Japanese, Single, Case bound
Japanese Book Binding
The first book we made was a Japanese Stab. The mildly alarming name comes from the method of making holes. Loose sheets of paper are stacked with a back and front cover sheet, and an uneven number of holes are drilled close to the spine straight through the entire book block with a dremel and tiny drill bit. Embroidery thread was used to stitch the book.
I chose a 2-3-2 hole arrangement. The holes were marked and drilled.
Stitching starts from the centre hole, coming out top from in between the pages. Leave a tail behind for a finishing knot. The first stitch creates a central loop around the spine. After this you can stitch either towards the head (top) or tail (bottom) of the book. Once you reach an end, create another loop around the head/tail in addition to the spine loops. Then head back the other way, filling the gaps in stitching as needed. No need to loop on the way back. When you reach the centre again, continue stitching in the other half in the same way. To finish you will arrive back at the central hole. Open the book slightly to exit the needle in the same spot you started, where the tail is left in between the pages. Tie a reef knot and trim the edges.
Single Signature
This mini book is a good way to bind a small information booklet. For a single signature you can get a little fancy with the stitching on the spine as a decorative element. We did a sort of chain stitch. Starting from the tail end of the book, we stitched upwards towards the head, looping the thread through the previous stitch as we went. Threads were tied off at the beginning and end, and frayed.
Stacks of signatures can be stitched together to form thicker books, which we covered in the Case Bound Book.
Case Bound Book
This hard cover book was a lot more involved. The hard cover was made with book board, which was then covered with cloth. The book block was connected to the cover via the end papers.
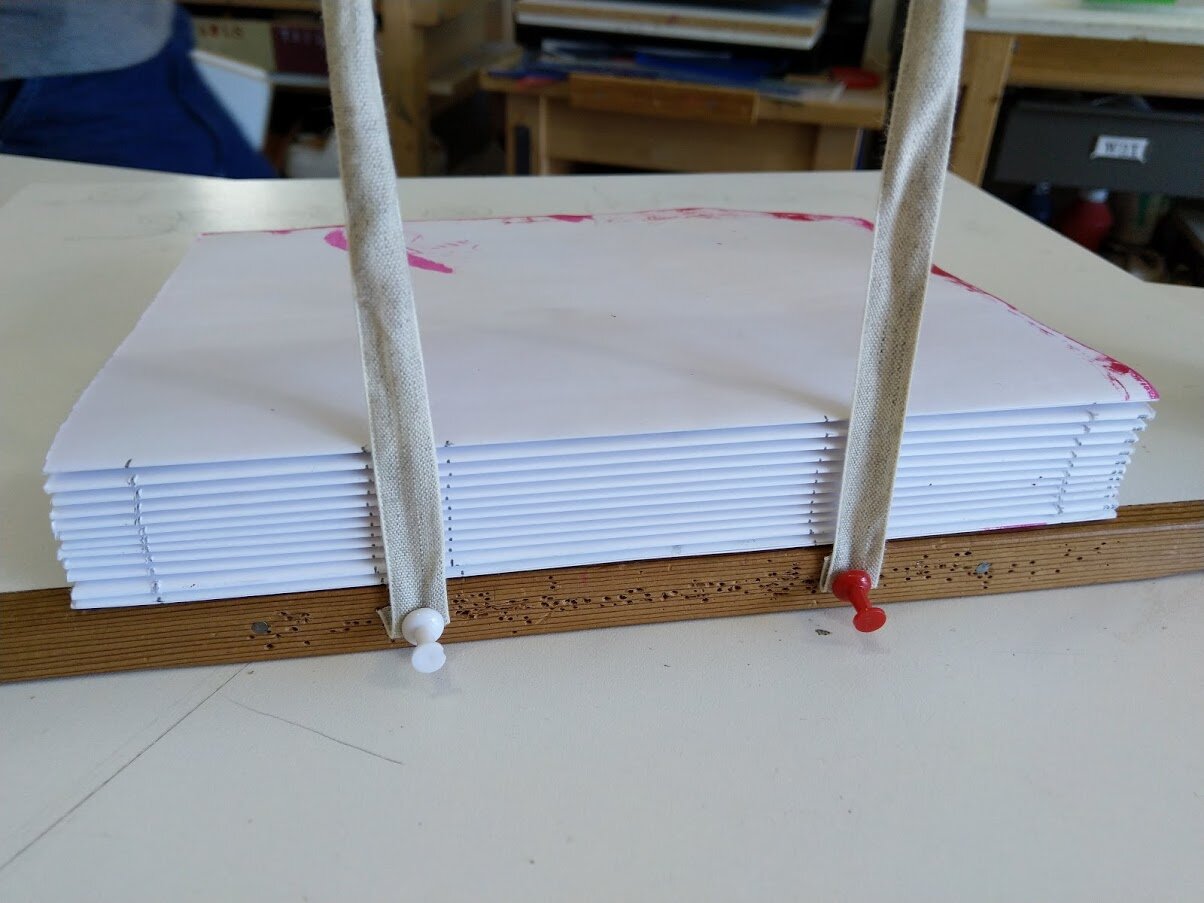
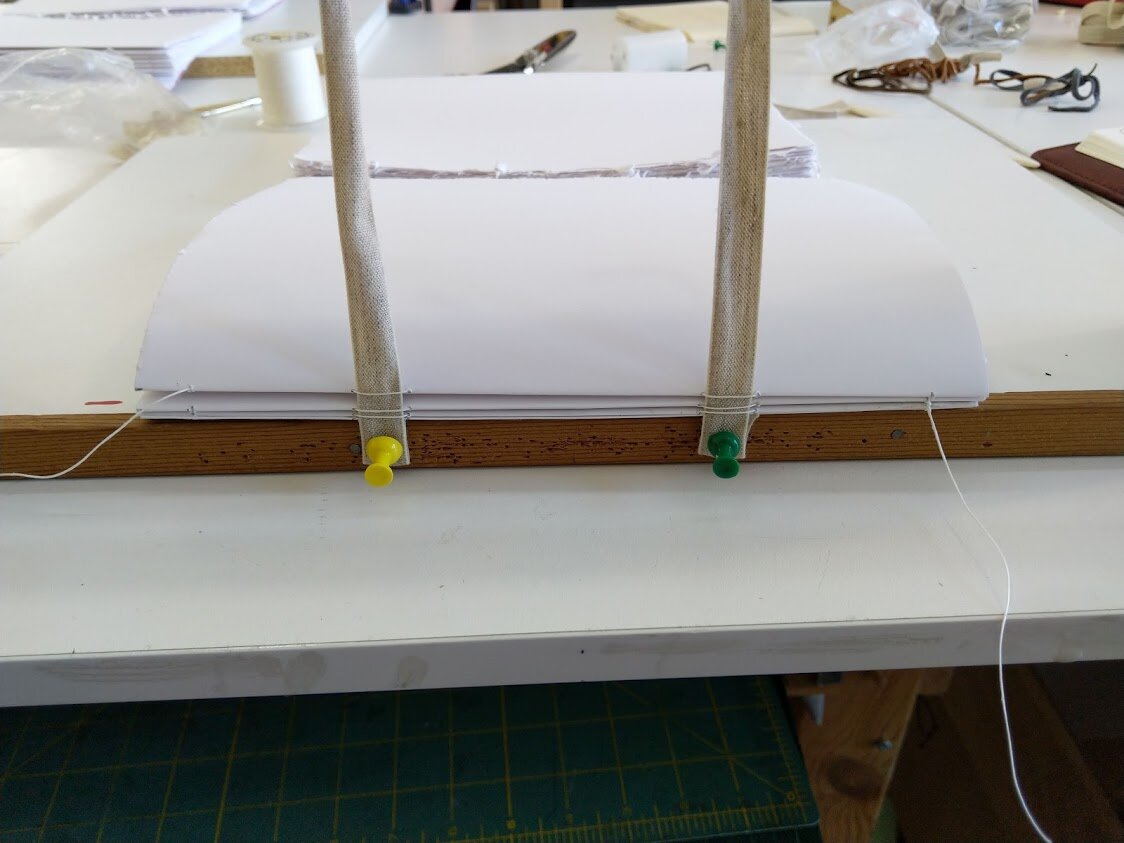
We pasted end papers to the top and bottom signatures. After lining them all up we marked where the stitching would go by lining up the book block on a frame and tying linen strips to the frame in the desired position. The holes at the very top and bottom were sawed with a hacksaw about 1mm deep. This is where the knots that join each signature will sit. Each signature was attached to the previous one with a kettle stitch.
Frame for holding linen strips
Holes marked. Top and bottom sawed 1mm deep
Stitching the signatures into a book block
Signatures sewn
After all the signatures were sewn up, the spine was knocked flat and glued. After the glue was dry to the touch, the spine was covered in glue again, and cheese cloth glued to it (the length of the cheese cloth was slightly shorter than the length of the book). After the cheese cloth was stuck on, another layer of glue was applied on to the spine to keep the cloth down. The flaps of the cheese cloth were stuck down to the book block.
Spine glued
Cheese cloth glued down
Glued down further
While we waited for the book block to dry we started on the hard cover. The square (empty space between pages and cover) we were going with was 4mm, therefore the height of the cover was [height of book block + 8mm]. The width of each cover needs to allow for the french groove so it shouldn’t be right up against the spine. We allowed for twice the board thickness + a bit. The board was 3mm thick, so we left 7mm from the spine, and measure to the end of the book block + 4mm (square). The spine cover needed to be slightly narrower than the total thickness of the book to allow for the book to fully open. We measured it as the spine thickness + thickness of one board
Height = height of book block + 8mm
Width = [width of book block - 7mm] + 4mm
Spine = thickness of spine + 3mm
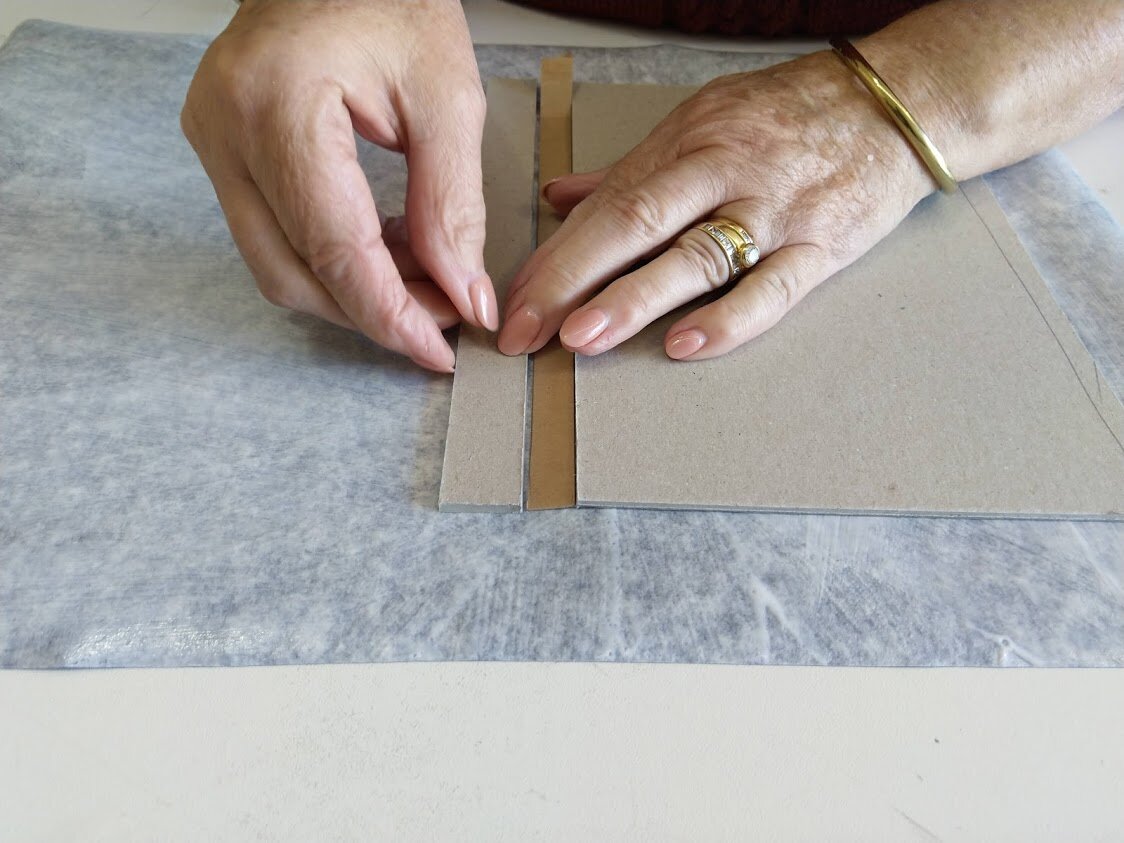
Determining the gap was slightly tricky. We needed to position the cover and spine cover boards on the book block to determine the gap. Once determined it is handy to cut out a strip of thick paper to the gap width to function as a spacer.
Determining how much gap to leave between the boards
We cut the book cloth larger than the boards, and applied glue to one side. We then placed all the boards down with the appropriate gap using the spacer. The corners were cut off 5mm or so away from the actual board corners. The head and tail were folded down first. The corner edges were mashed in before the side flaps were folded down. Excess material was quickly trimmed and removed before the glue set.
Book cloth cut oversize. Boards dry-fitted with spacer
Boards being glued to book cloth with spacer marking the gap
Corner mashed in before sides folded down
Excess flap quickly trimmed and removed
The last part was to attach the book block to the cover. The way we did it was by lining up the book block to the cover, applying glue to the top end paper, and gently closing the book on it, trusting to the measurements. In the future I wouldn’t do it this way because it ended up misaligned and we had to remove it and place it down manually. In the future I would line up the glued end paper to the cover, and smooth it down to prevent air bubbles. Two rods were then attached to the spine to form the french curve, and it was left in the press for a few hours.
ButtonHole Binding
The last book we made was a buttonhole bound book, essentially the cover has a hole in it of any shape you desire, and the rest of the cover acts as a support.
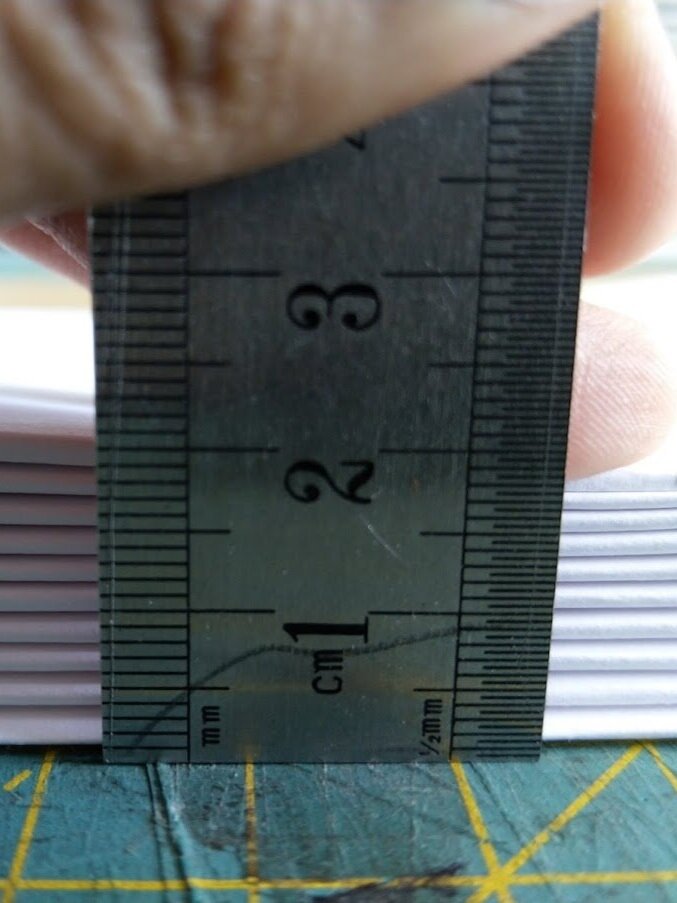
I went with a classic circle for my book, where the spine would be sewn with a curve to it too. We started with ten signatures. The spine width was halfway between completely slack and very compressed signatures.
Too slack
Too compressed
Just right
Top paper pasted to board
We cut out some board to the exact height of the book block, but slightly wider than required. We pasted down the top paper. After trimming off the excess paper, we folded the spine. We scored a line on the spine to encourage it to bend. Then we cut out our buttonhole shapes. We stuck down the inner cover paper, and cut the shape out of that.
This next step is completely optional. I wanted the hole to show a pretty pattern on the inside, so the top and bottom signatures had an additional sheet of patterned paper glued on. Then thin strips were cut just wide enough to cover the spine of each signature.
Signatures, their spines covered in patterned paper
With the signatures arranged they were knocked into position in the cover, and the buttonhole pattern marked only on the spines of the signatures. These marks were then pierced with a needle and sewn, one side at a time. Kettle stitches attached each signature to the previous one.


