
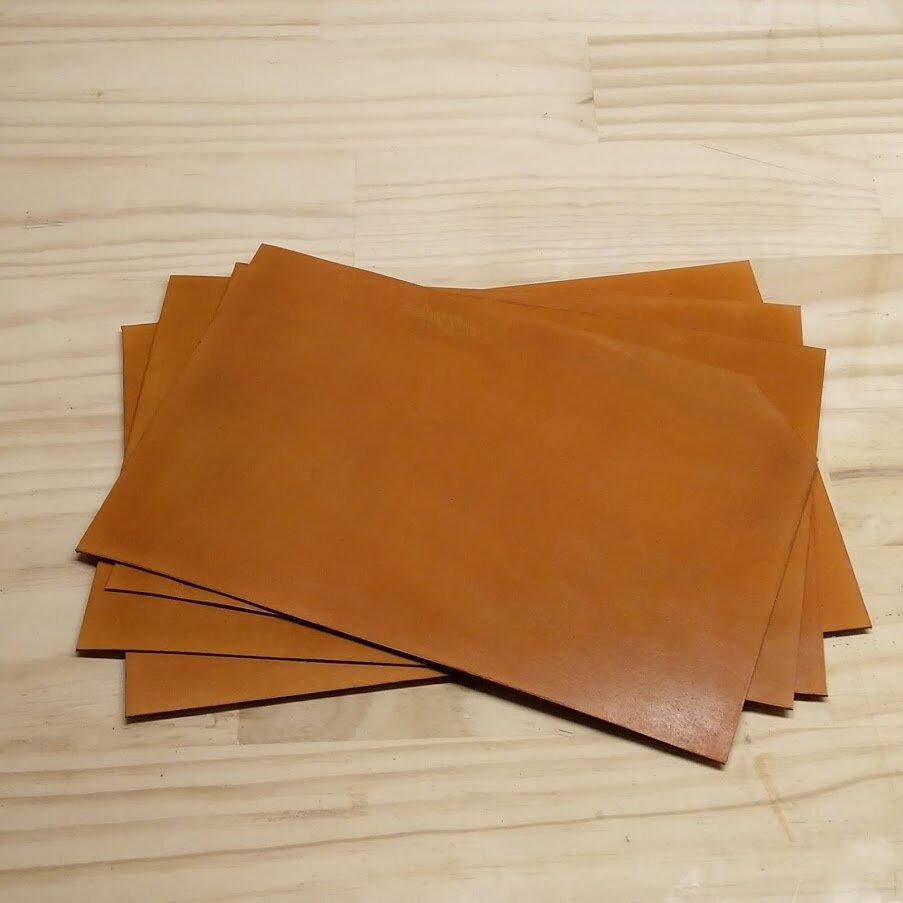
Panels cut and dyed

Maul, fabric scissors, hammer

Awls and other small tools
I’m travelling interstate in a few months for a week-long workshop and will need to take most of my tools with me.
I winged this one a little. I cut out two outer panels that will make up the two main faces of the suitcase, and two inner panels on which the tools will be mounted.
I airbrushed dyed these pieces. I’m pretty new to airbrushing, so what better way to practice than on a personal project.
I laid out some tools I’ll be taking onto the inner pieces to see how much room they’ll take. I’ll mark where the loops will go, make some slits, and thread through a strap.

Testing fit and spacing

Tools fastened to inner panels
I cut out a long strap from some scrap leather. I then marked the positions of all the tools and made a slit as wide as the strap, with circle punches at either ends to prevent distortion. Then I looped the strap through each slit. For the larger tools I opted to use rivets and snaps to fasten the straps.
With all the fasteners attached, I decided to stiffen the leather panel. To do this I used some black book board sandwiched between two layers of leather. I pre-punched the holes around the perimeter and pricked matching holes on the leather liner.
The book board was cut 5mm smaller than both leather pieces. The edges of the leather were skived down. The book board was glued to the liner, and then the leather panel sewn to the liner.

Piping prototype 1, poor outcome

Piping prototype 2, more successful
This project is a first for a lot of things. I wanted to try out piping. The first prototype left much to be desired, but the second one is closer to the mark. I’ll be using this where the gusset joins the top and bottom face of the bag.
With some form of plan in my head I cut out the gusset leather and lining. I’m using veg tan dyed Golden Brown for the outer leather, and scrap yellow goat for one lining, dyed similar yellow for the other. Like I said, this is a prototype project, nothing needs to be pretty.
Next I cut out zippers to size. A few teeth needed to be removed in order to size it correctly and insert the zipper pull. This is cut from a YKK #5 strip. The zips were then aligned very carefully using a zipper guide to ensure even space of ribbon, and stuck to the gusset using double-sided tape. Gluing would just have been incredibly messy. With the zippers in place I stitched the gusset to the zipper and creased the edge.

Gussets dyed and cut

Zippers cut to length
Next it was time to do the piping. I pre-punched the piping as close to the pipe as possible. I laid down the piping around the edge of the base panel, with the piping facing towards the center of the panel. So it could turn the corners properly I fringed the piping material. I stuck the piping down with double-sided tape. Where the start and end of the piping met I cut through to create a flush join, and covered it with a thin strip, and punched through that. With the piping in place I punched through to the other side of the bag base.

Gusset pinned to base

Gusset corner, fringed
I marked the center of the base, then aligned the gusset carefully, fringing the corners to make it sit flush. I pre-punched the gusset and aligned to ensure it could be stitched. This was tedious.
I cut out a bag base, the leather that would span the space between the zip/gusset. To do that I counted the number of pricking holes I’d need to cover, plus two more holes on either side for overlap.
Stitching took a while, but we got there in the end. After stitching I trimmed the excess. I stitched up the other side of the gusset in much the same way, but this time instead of attaching the piping onto the body, I attached it to the gusset. This may have resulted in my gusset ending up a little shorter. I don’t know. To compensate I had to round out one of the corners a bit more to reduce the distance the gusset needed to travel.
Base piped and stitched to gusset
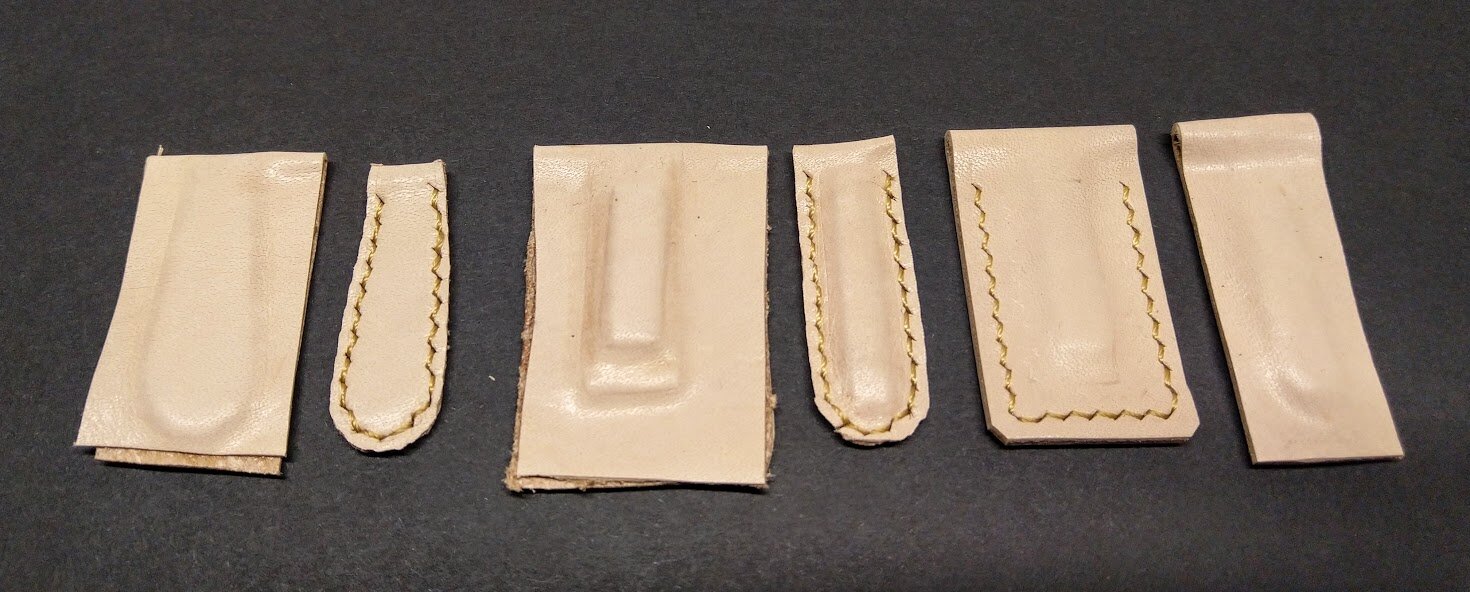
Zipper pull trials
With that disaster out of the way it was time to try my hand at zipper pulls. They’re harder than they look. I made many variations. The final shape is something I’m roughly happy with, but it’s still very unrefined and definitely an area of fine workmanship that requires a lot of attention.
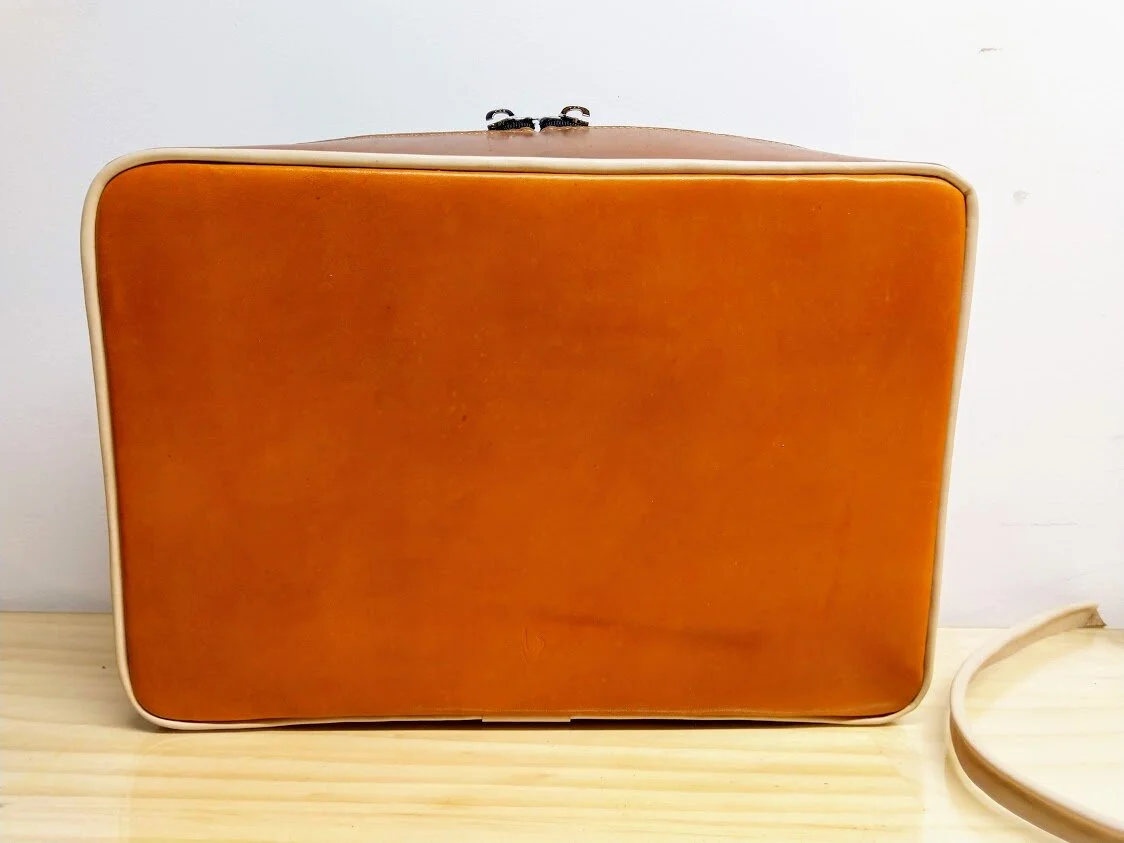
The last thing left is the handle. I wanted a handle that wouldn’t stick out when not in use. I used two layers as the core, and barely had enough leather to stitch around it. In hind sight I should have oversized the handle and then trimmed it.
The little arrows I think would have worked better as larger semi-circles, so that’s what I’ll do next time. I also should have made the gusset deeper so that the handle would be centered on the bag. As it sits now, it’s very much to one side. Not the end of the world, I can still use the bag, but I’ll do it differently next time.
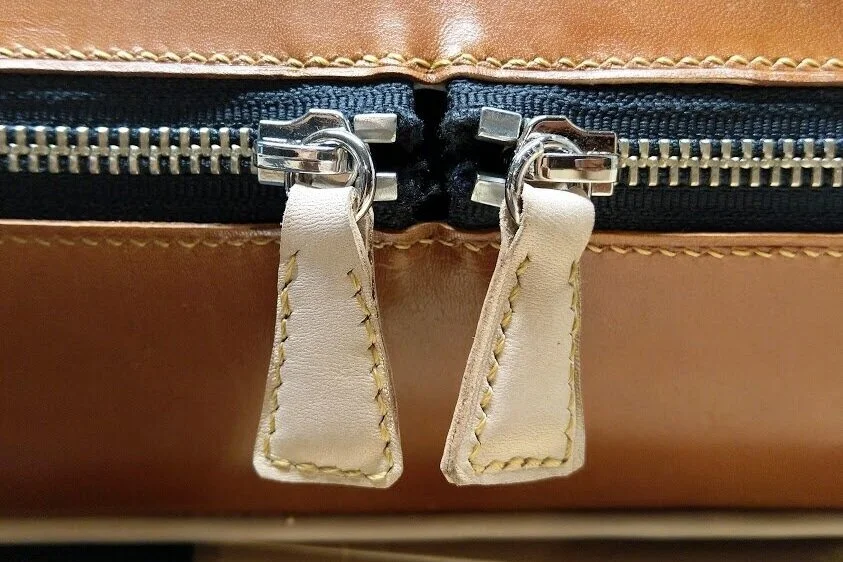
Zipper pulls attached to the zips

Suitcase handle