Leather Satchel
There were a few requirements for this bag that added to the challenge:
Bag should have no zips
Deep front pockets with gusset
Divider for a laptop
Fits A4 papers
A design that squashes down when the bag is empty (this was the main challenge when picking a bag type)
Materials
SB Foot leather as outer leather
Some chrome-tanned goat leather for the bag body liner
Relma crispe for the flap and pocket liner
Reinforcement tape, salpa, and velodon
Preparation & Assembly
I started out with making the fabric divider out of canvas, interfaced with a quilting lofty interfacing, and stitched velcro loop where it was required. I made the leather straps with the velcro hook stitched in, and attached the ensemble to the bag liner.

Fabric divider constructed

Divider checked with pattern for positioning

Divider with velcro attached to liner
I cut out the outer leather and liner to the same dimensions. I clipped the outer and liner together and folded it into the final form to see how much excess liner I’d have to trim. It was about 1 cm.


I skived all the edges that would be stitched, adding reinforcement tape in a few thin and fragile spots.
Next I prepared the pockets. I lined the outer leather with relma crispe, and used crispe as the gussets. Once the pocket assembly was ready I stitched it onto the bag body outer.

Close up of the pockets stitched to the outer bag body

Bag body panel with outer pockets stitched
The flap came next. I glued and edge finished the part that would attach to the bag outer. I reinforced this with salpa when attaching the flap to the body. I left the flap liner unglued most of the way since I needed to know (after the bag was assembled) how much to trim off.
With the flap attached to the outer, I attached the outer to its liner, glued at the sides, and glued and stitched at the top. The tops were edge finished. Finally the bag was ready to be assembled to its final shape.

Boxed and stitched base to side

Bag assembled (inside out)
The last step before flipping the bag was to edge finish the inner seams. I gave it a coat or two of edge paint, then flipped the bag carefully.

Inner seam edge painted a bit
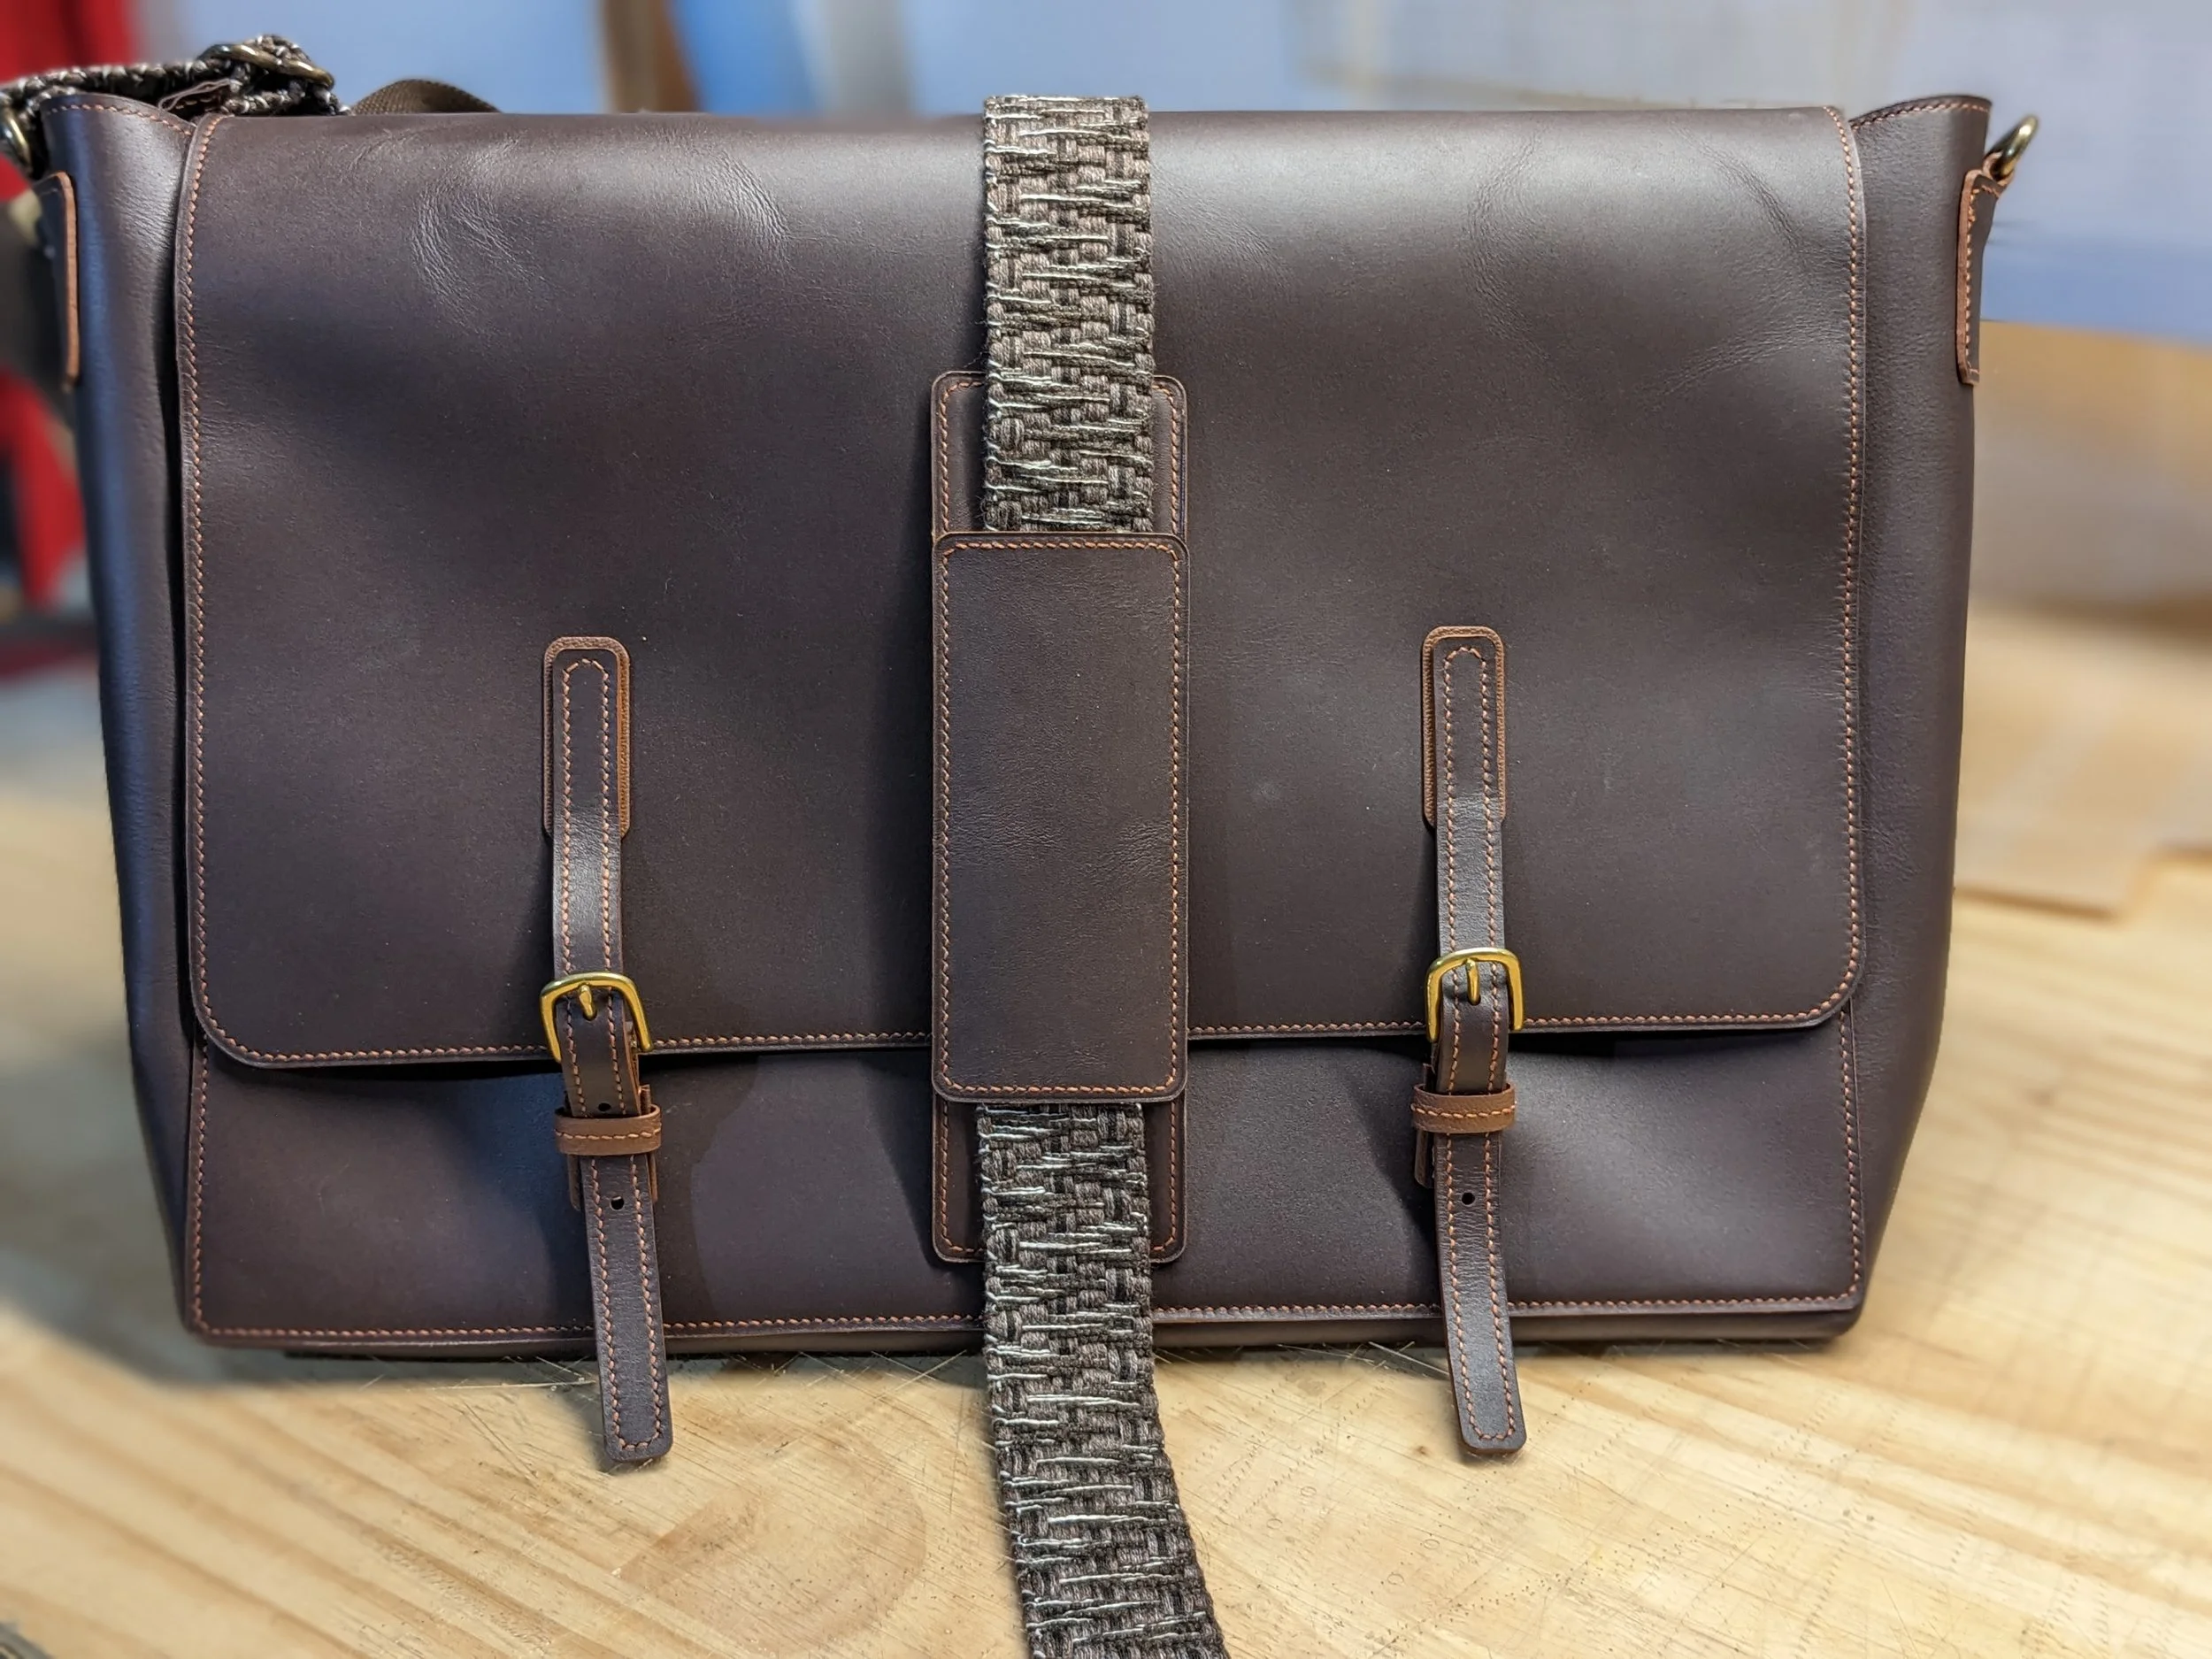
The next step was to size up the flaps, edge finish and stitch them up, and attach the straps for the closure mechanism.
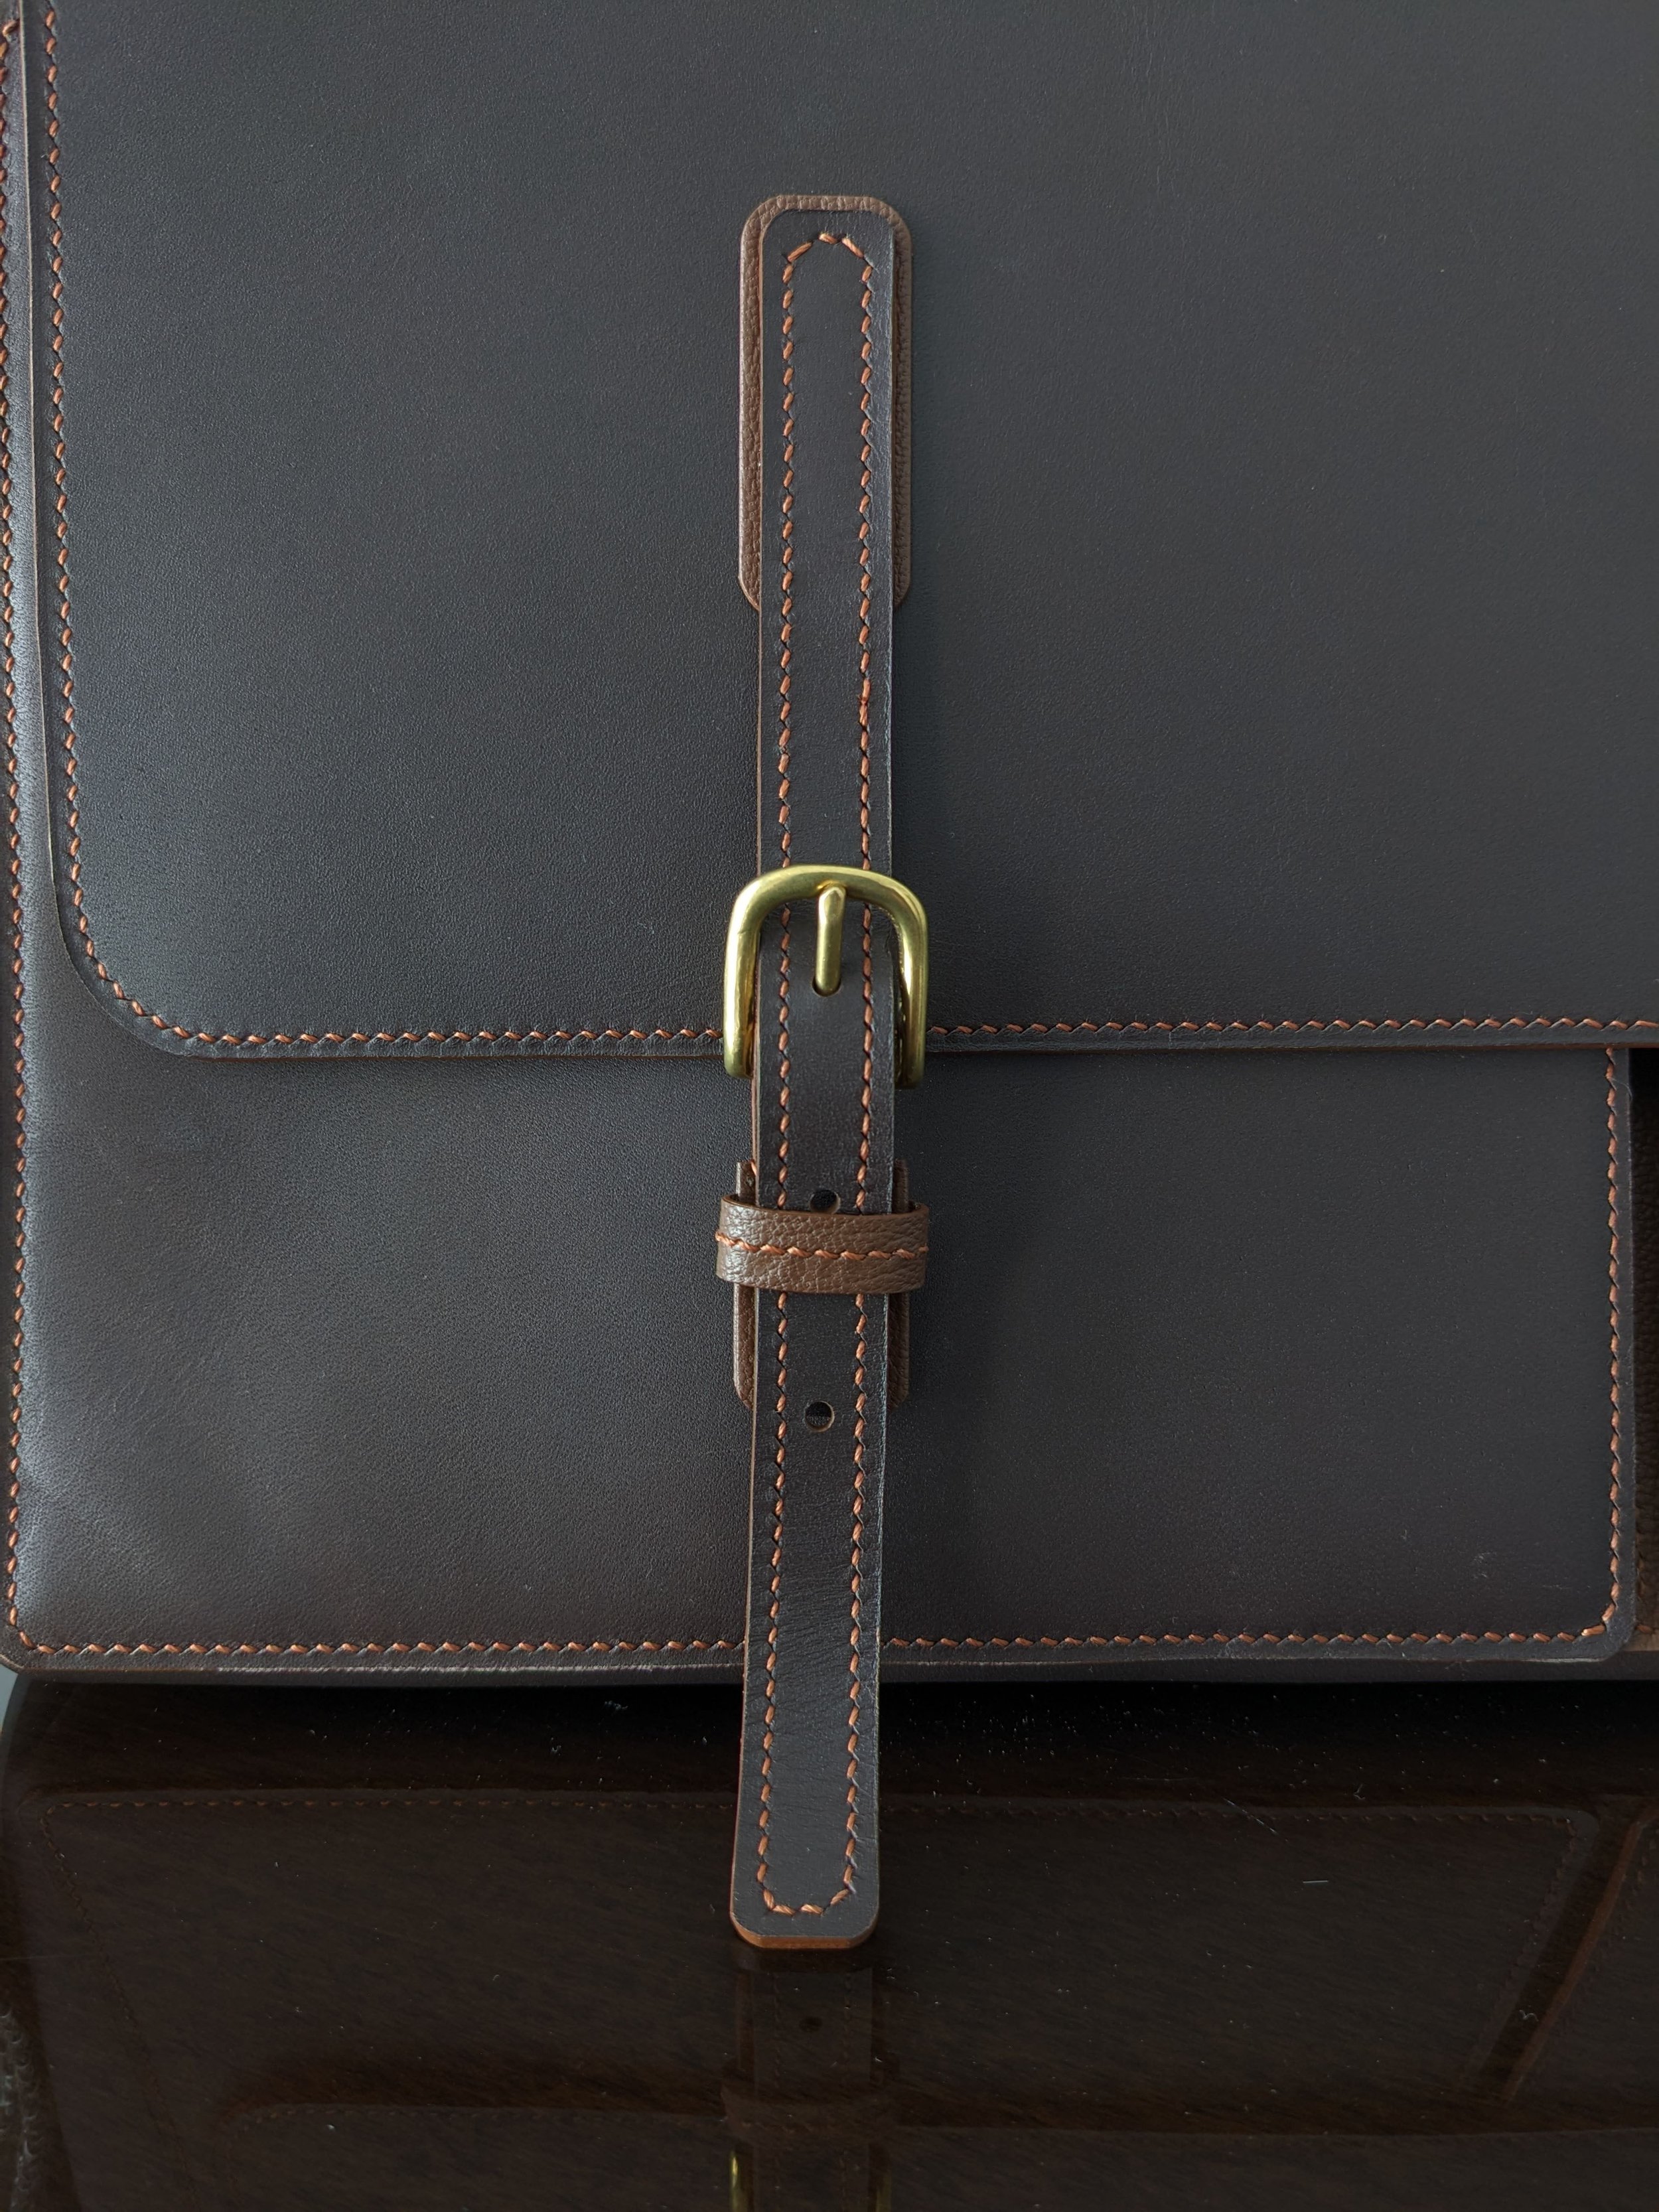
Strap with closure mechanism attached to flap
With the bag fully constructed, the last part was to get the strap attached. Since this was a split gusset, I went with a split enchape design (reinforced with Velodon). I also made a shoulder pad for the strap before closing off the strap.

Split enchape with webbing strap sealed

Laptop in the divider