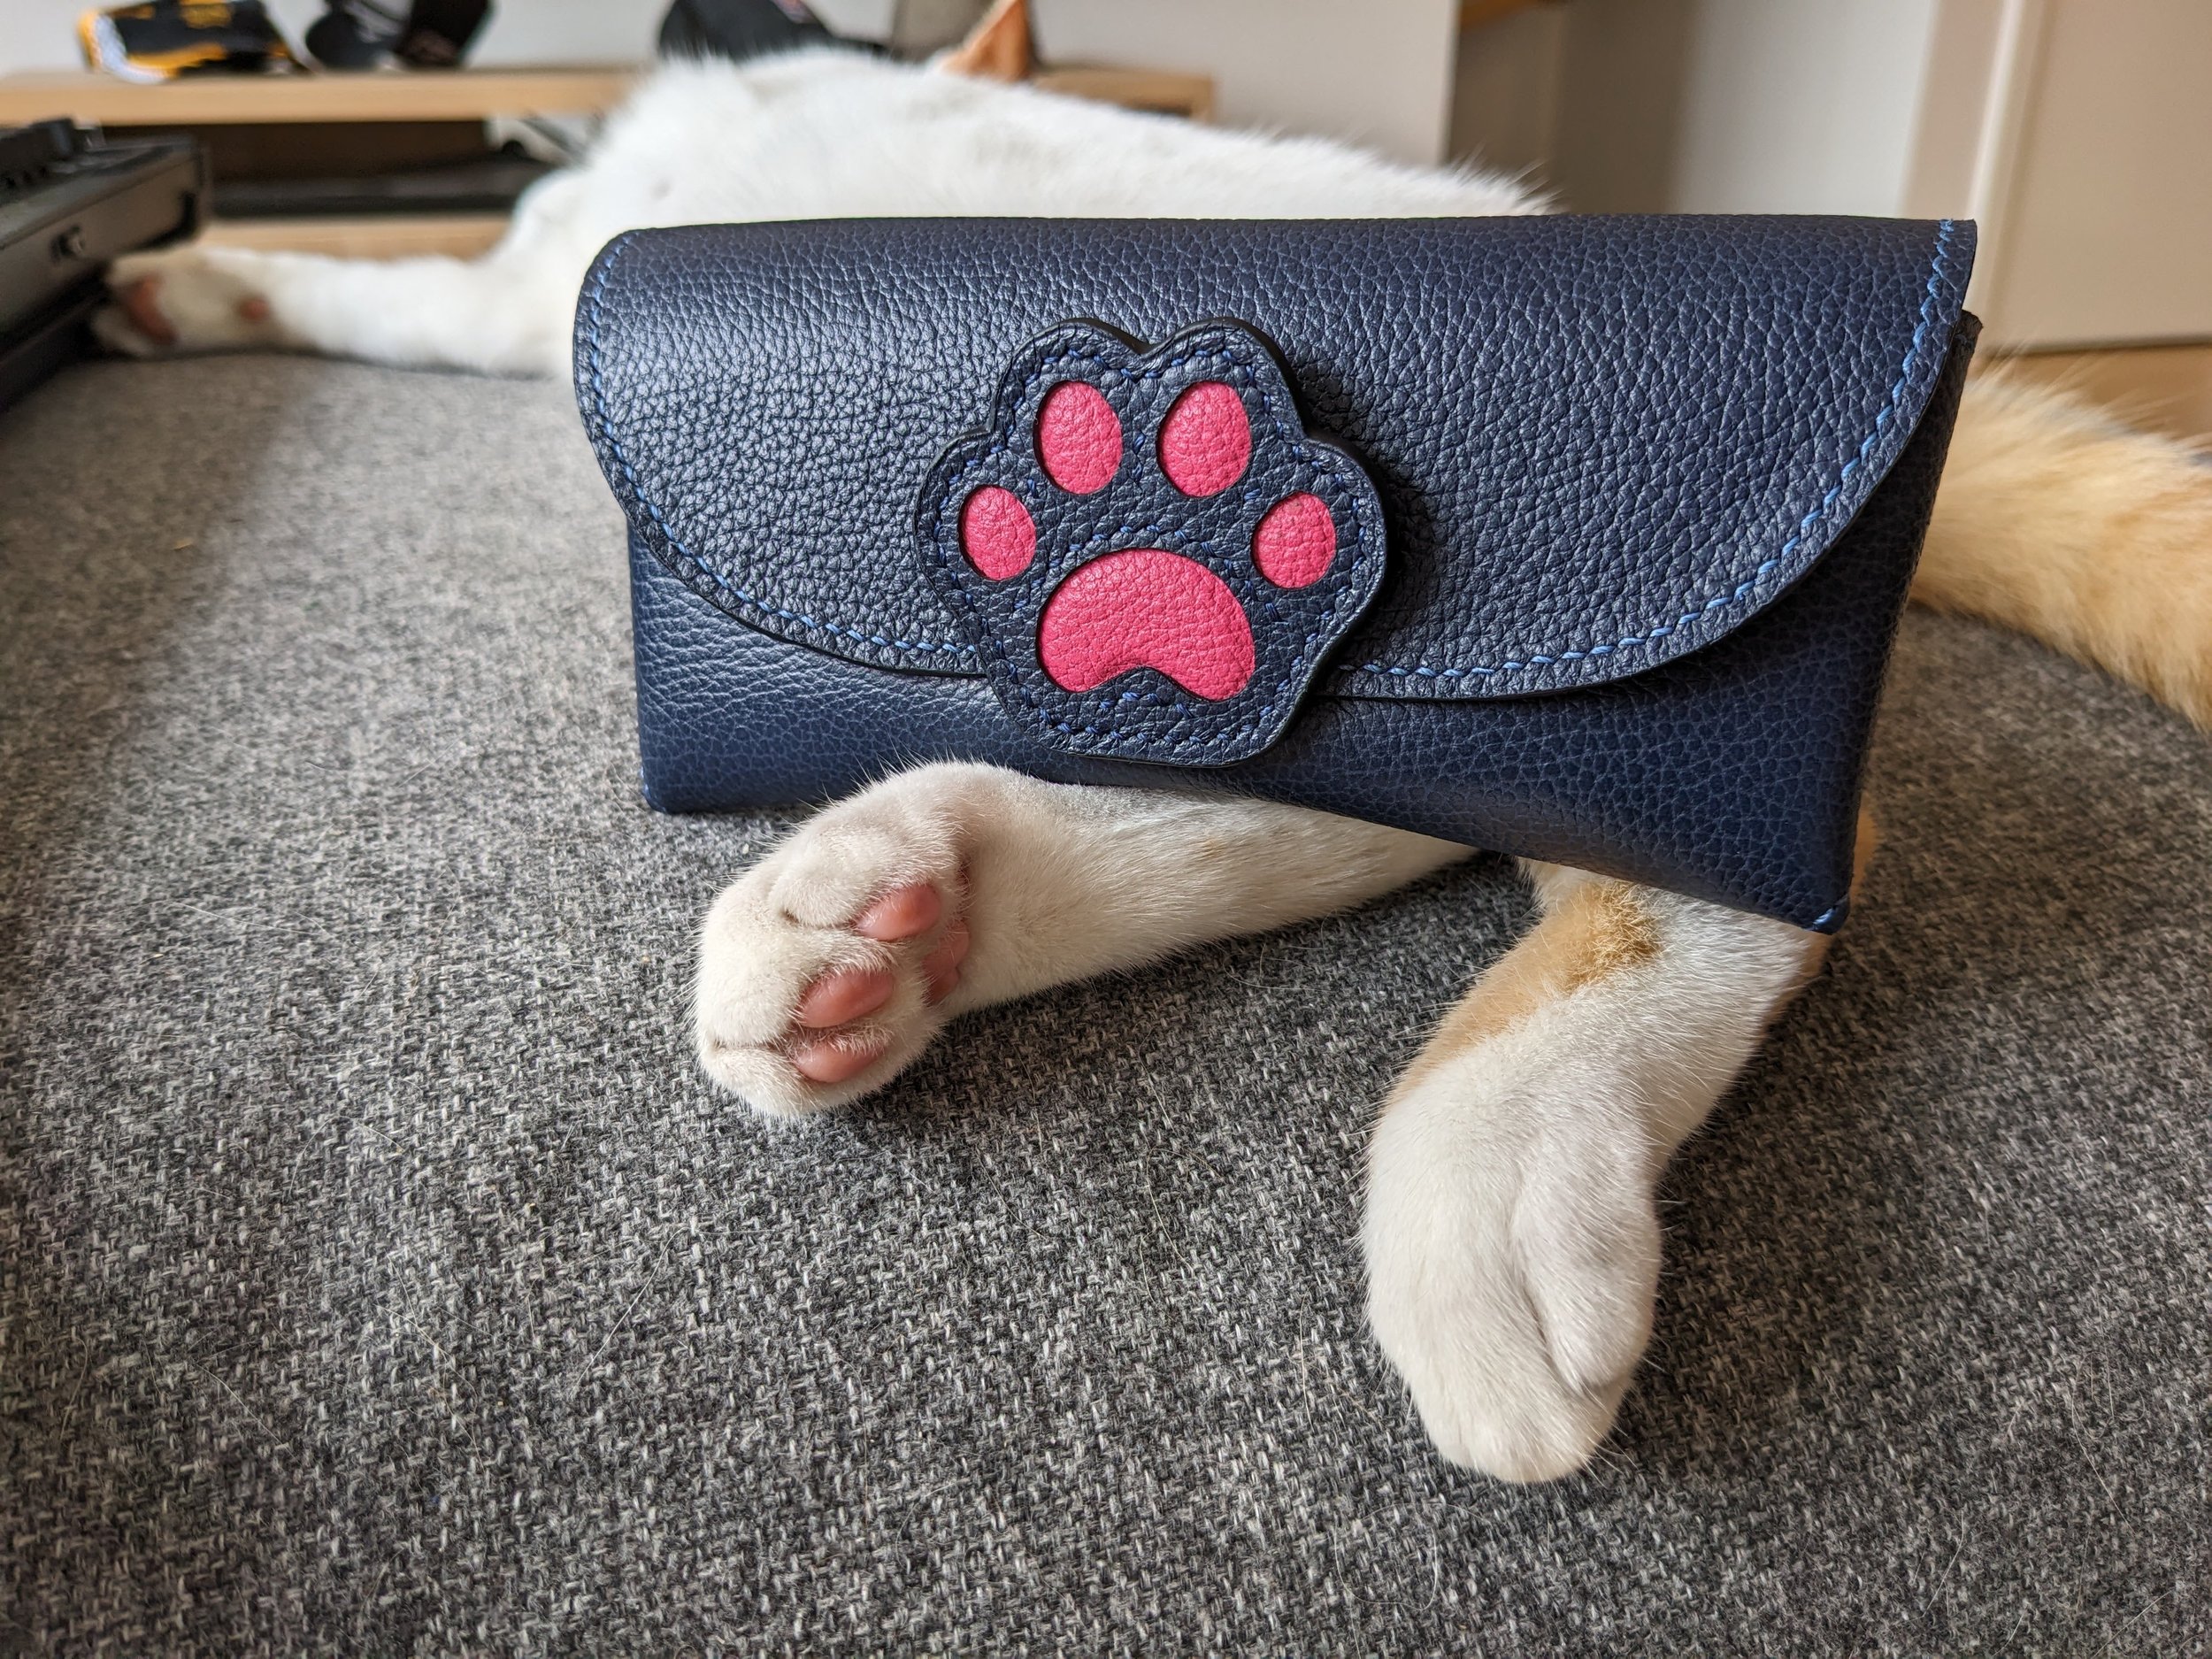
I needed to make a new sunnies case, and wanted it to be cat-themed again, so I came up with this idea.
I used the same basic pattern as in my previous sunglasses case, with some minor additions, like magnets and the paw closure. I also changed the shape of the support strip that gets sewn to the liner and made it a little thinner.
Materials: Premium bit shrink leather from Hashimoto; Saba, Velodon, Oslo, and Salpa reinforcement; Vinymo thread.
Method
I started on my favourite part of the project, the paw. I’ll be honest, I wanted to make the paw and figure out what to do with it later. I printed out a paw to the scale I needed and stuck it to cardboard to get my template (I used my existing pattern to see how much space I had to play with). I traced the template on salpa and filled the “beans” with Oslo reinforcement. Then I covered the whole layer with pink leather skived very thin (~0.4mm) and molded the pads. I used the template as a form to let the pads puff out and stick the rest of the leather down to the salpa.
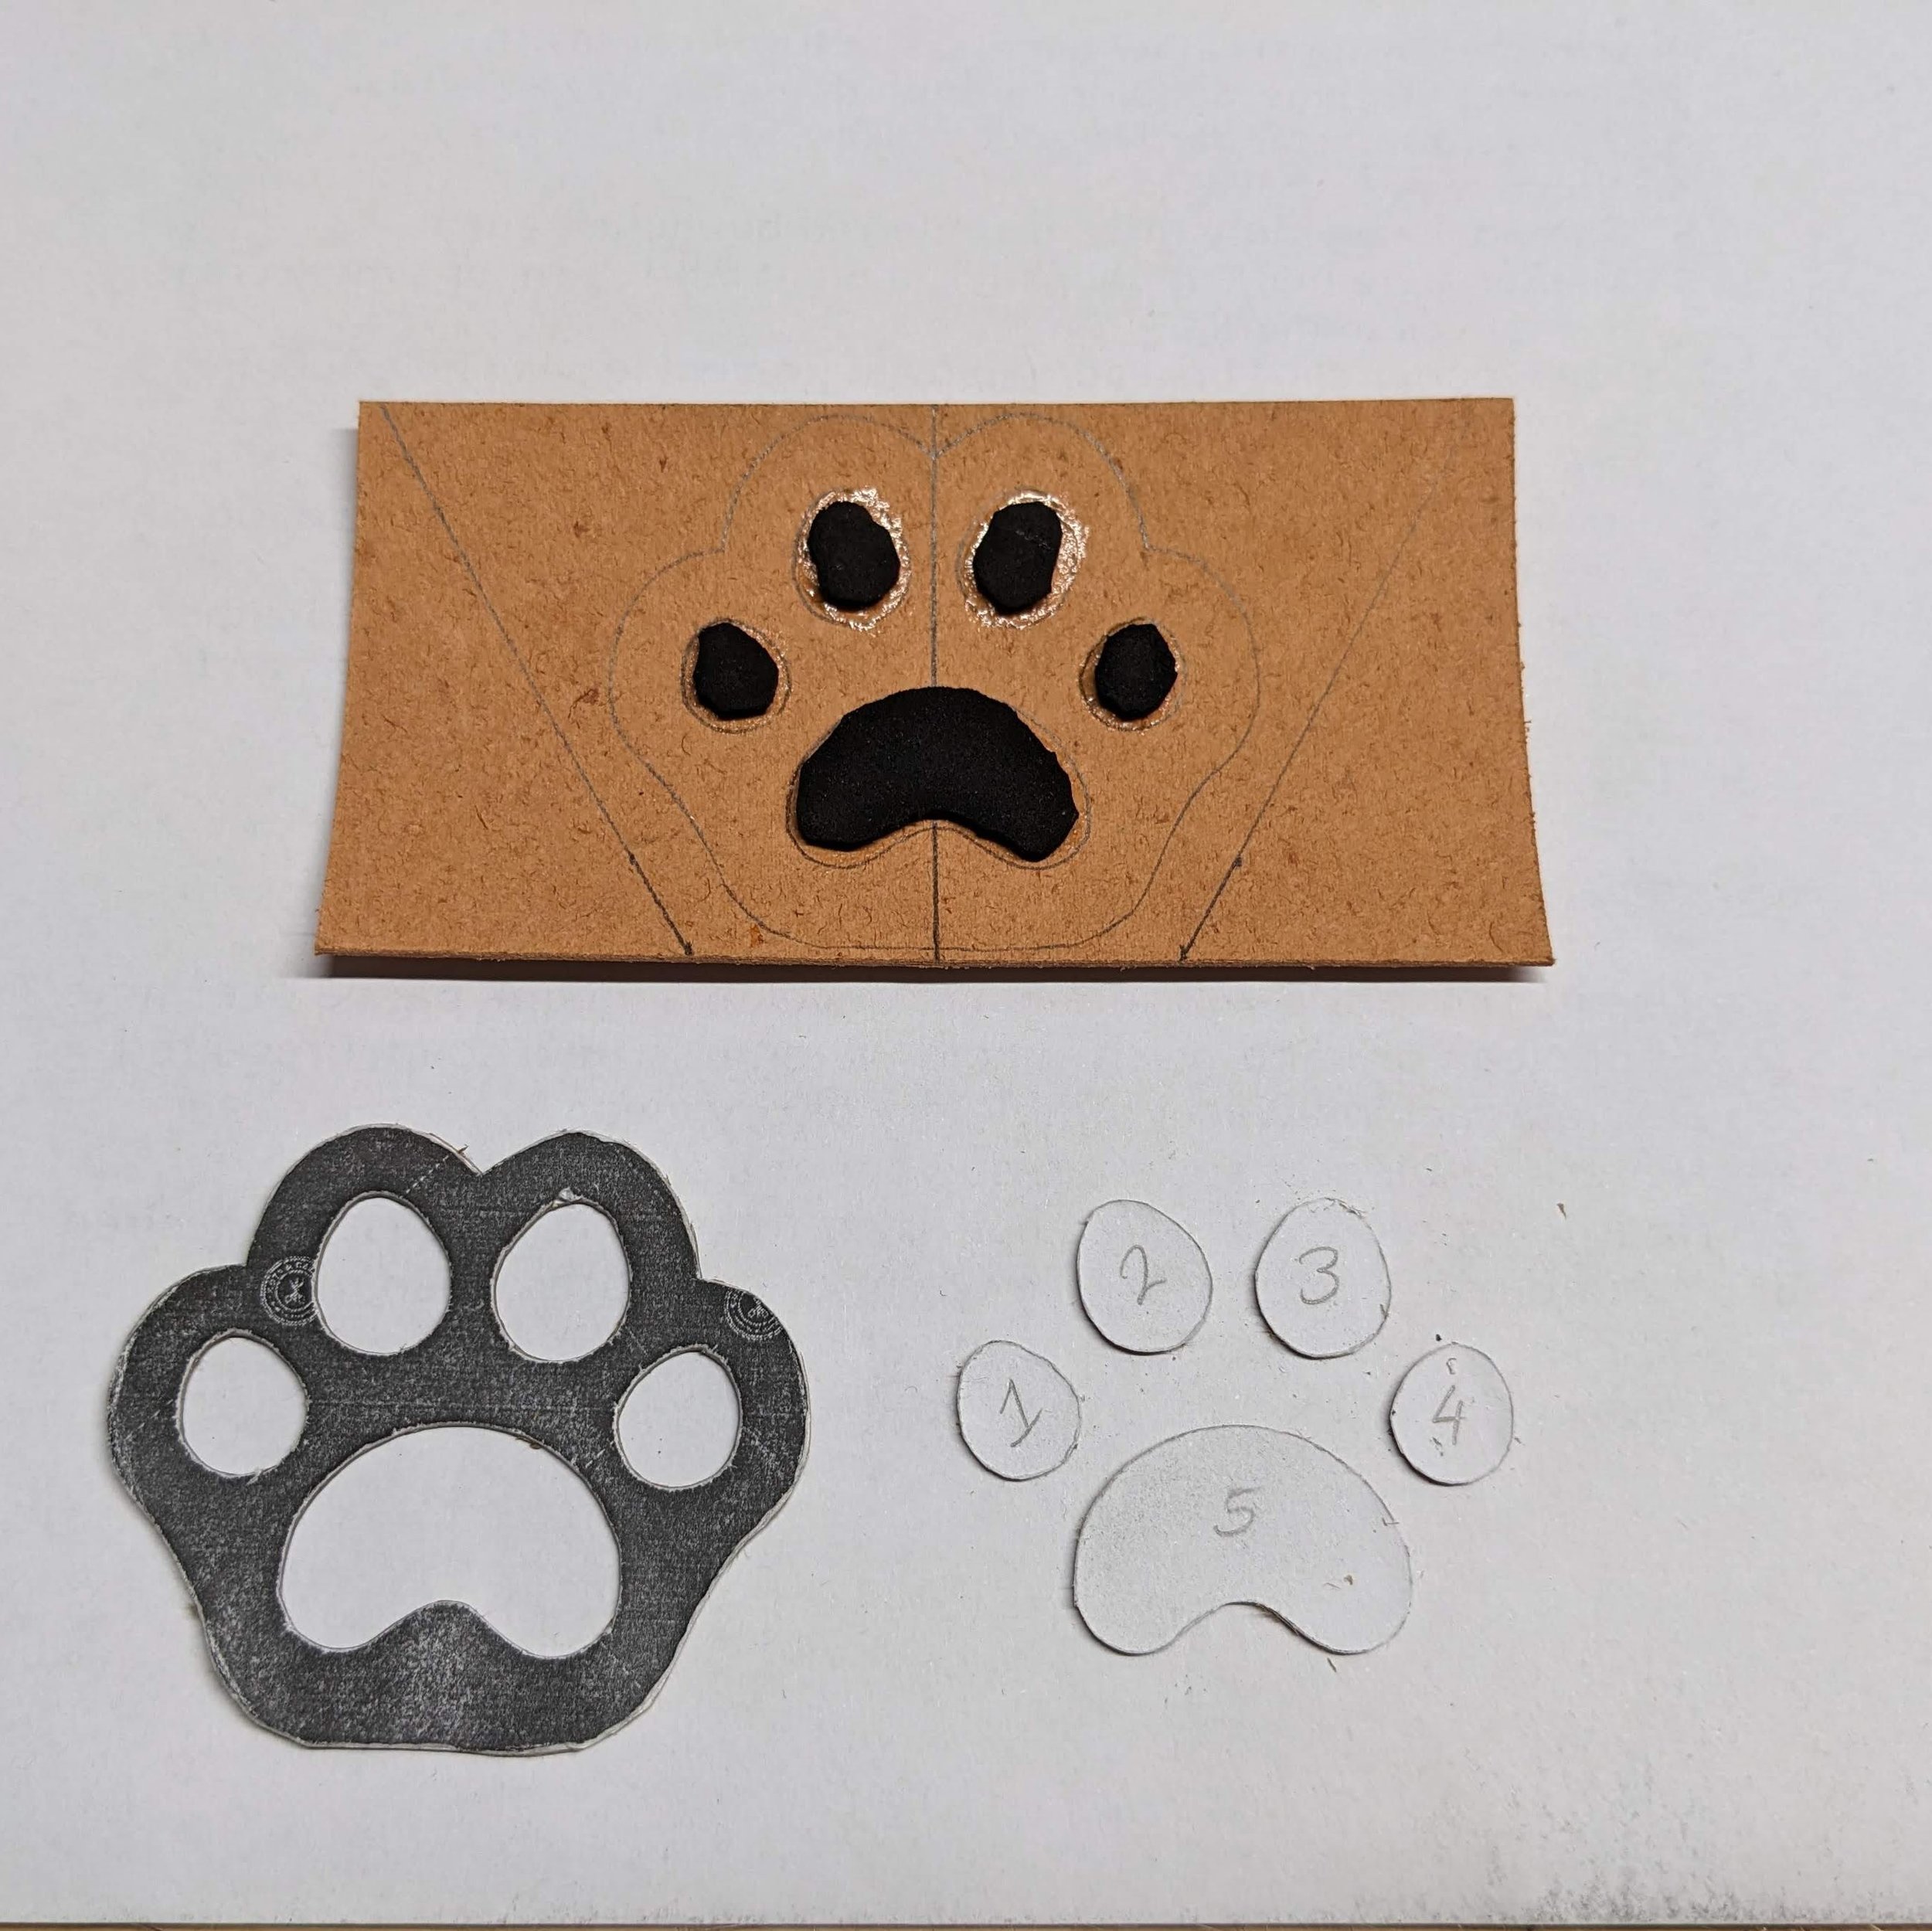
Paw template and Oslo applied to salpa

Paw pads drying. Template use as a form
Using the template I cut out the outer part of the paw and stuck that on. I made a matching back piece with the magnet attached. I then put the two parts together, trimmed, stitched, and edge painted the paw.

Paw front and back before assembly

Paw assembled, awaiting edge finish
Next, I fully laminated the outer leather to Saba, then cut it to size. I skived the edges at an angle. Last step for the outer was to attach the magnet, being careful that its orientation would complement the back of the paw (rather than repel the attachment. It’s an easy mistake to make).
For the liner, I knew I’d stitch the bottom first (the opposite end of the flap) so I trimmed that to match the outer. Using my template as a guide I marked where the support strip would go, and stitched that down while everything was still flat. With that done, the liner could finally be glued along all the edges to the outer, gluing on a bend where required. Once the glue had set I trimmed the liner.
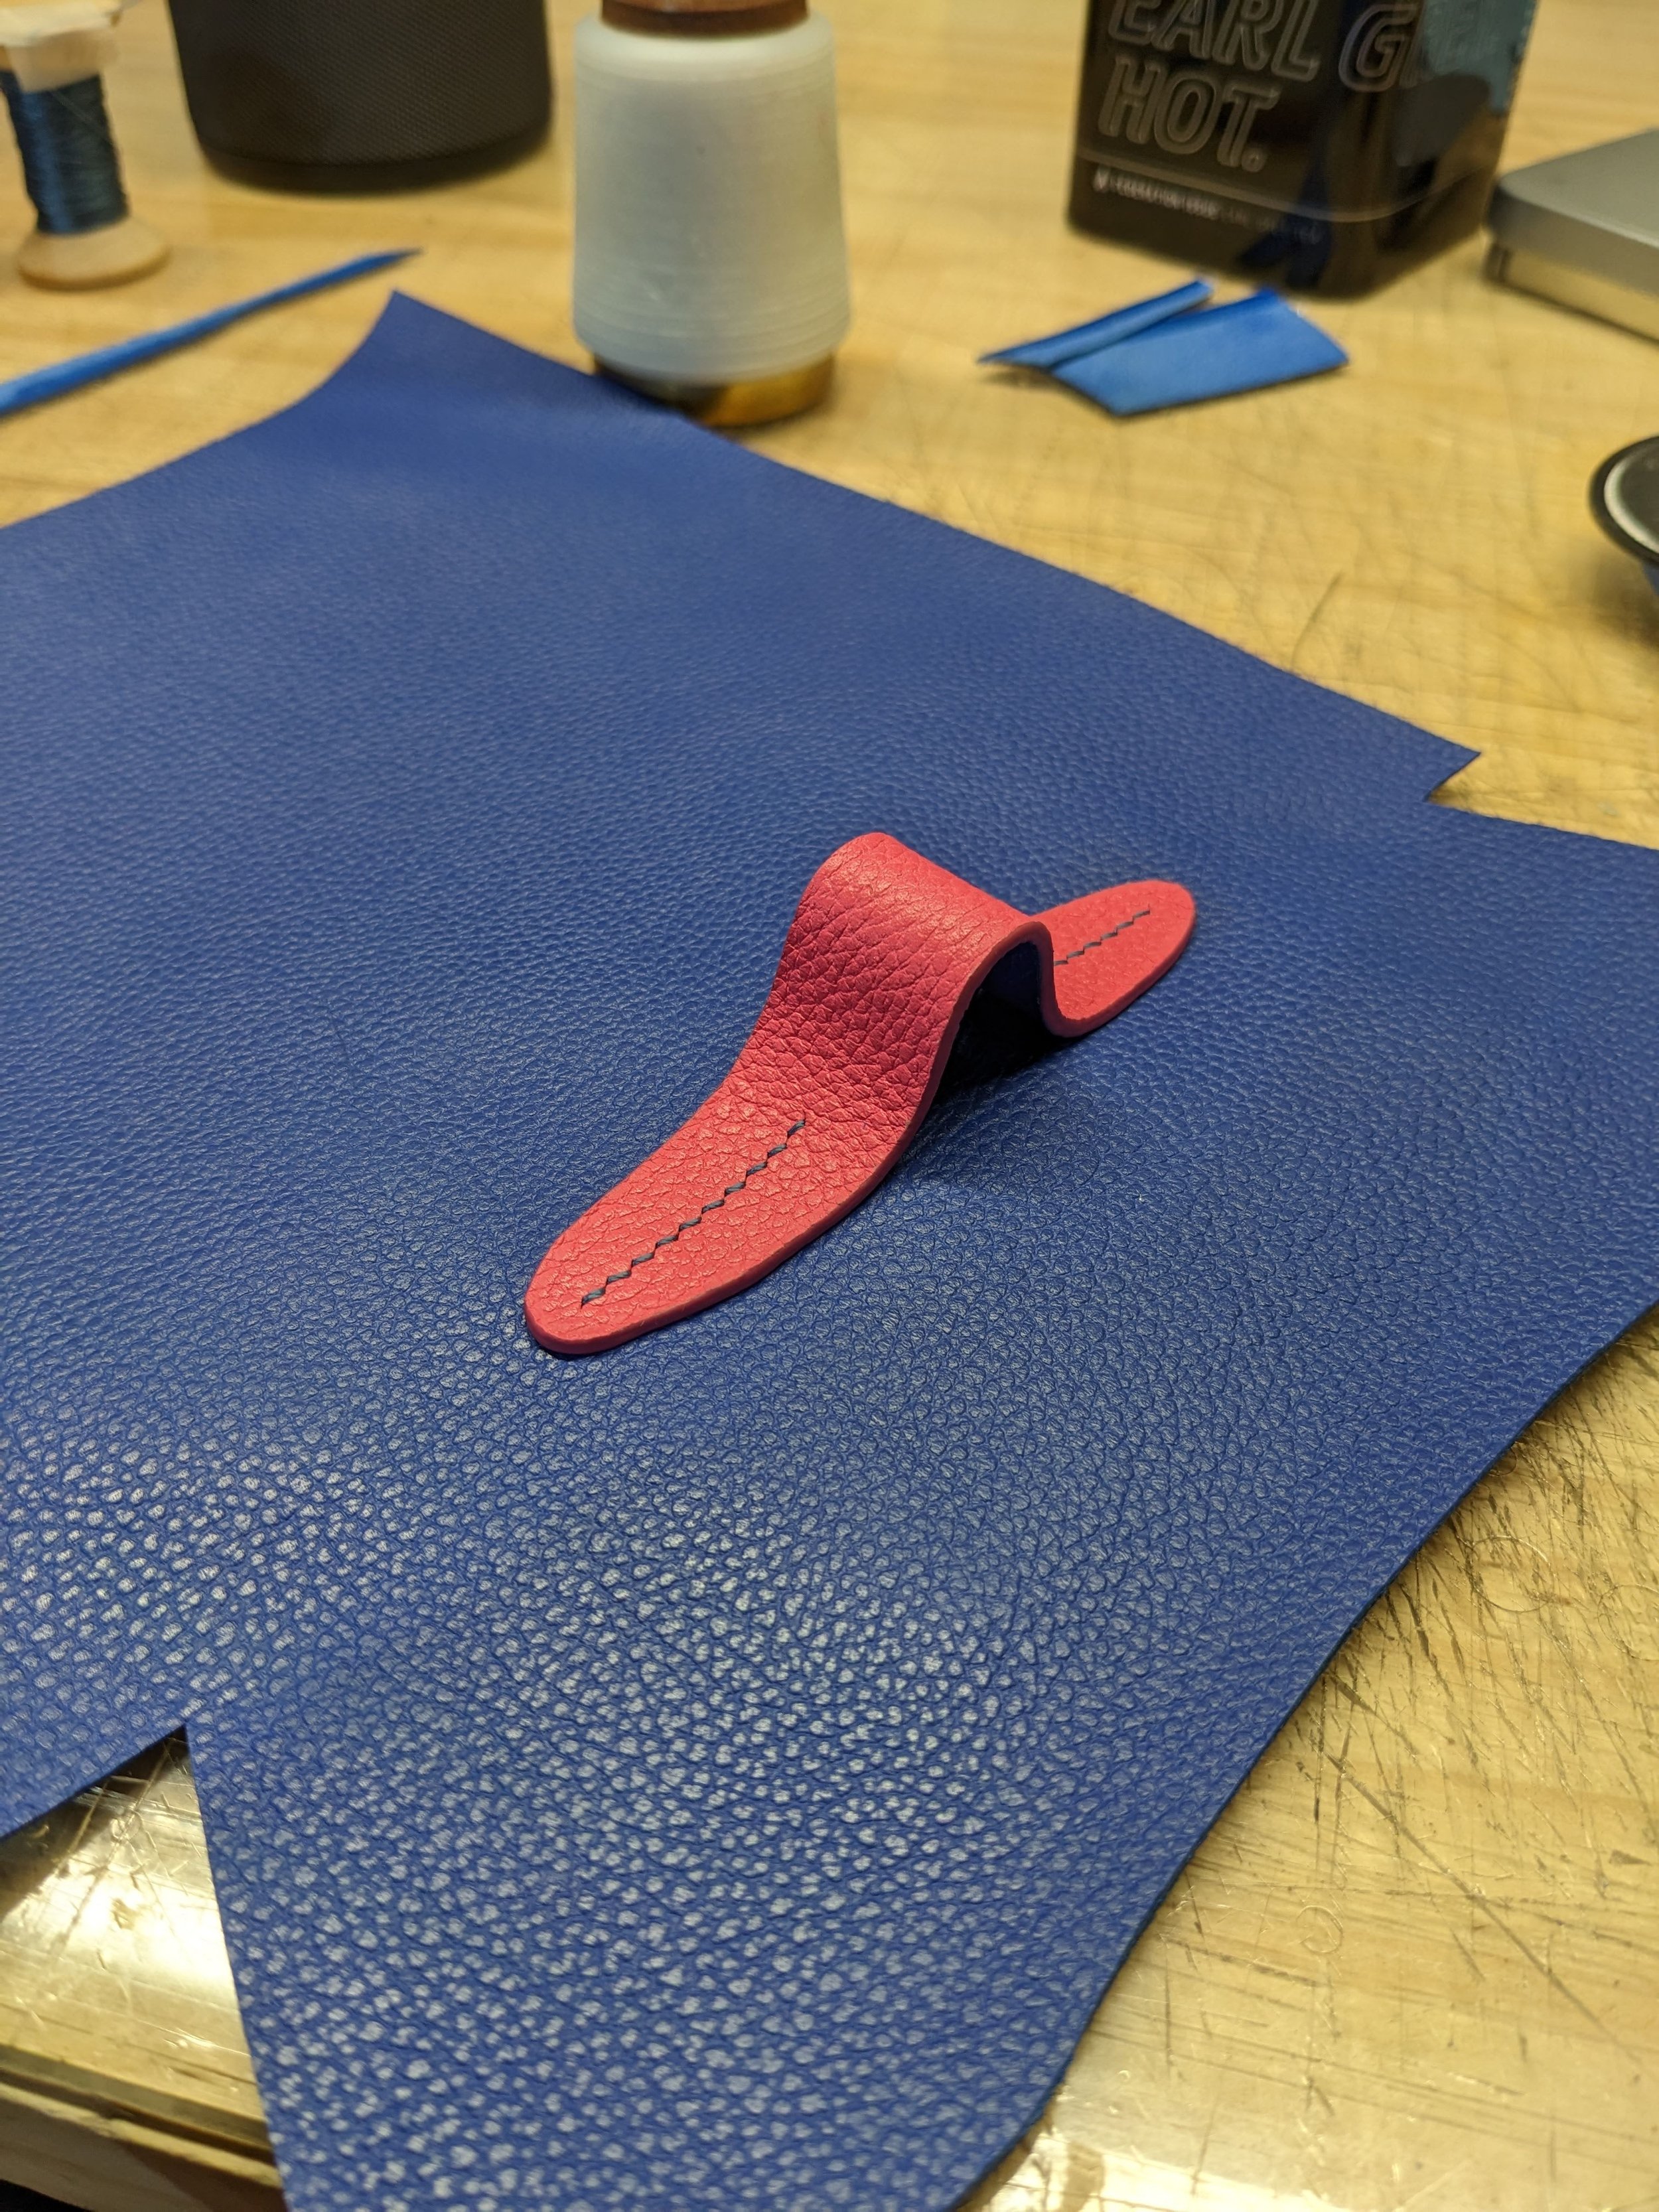
Support strip stitched to liner
I closed up the case with pins temporarily to get the right shape so I could finally attach the paw. I did this at the end because I had a little vertical room to play with to see how snugly I wanted the case to close. I marked where I wanted the flap to come down to, and used that as a guide to stitch the paw closure.

Using masking tape as a guide for flap level

Case held close with pins

Showing how much room is left, in case I some day decide to use it for larger glasses
The final step was to stitch the whole case up and finish the edges.